Showing posts with label Garden. Show all posts

Thursday, October 17, 2013

Wizard of Ozsome!

All of these garden projects I have worked on were leading up to my annual garden party. You may recall some of my previous parties. The first was Enter Eden, followed by the Blogiversary, and last year's 50 Shades of Fabulous! My girlfriends have come to know that I always throw a party with a theme, so they were especially excited when I announced this year's theme was inspired by the Wizard of Oz. My dear friend Melissa dubbed it "Wizard of Ozsome"
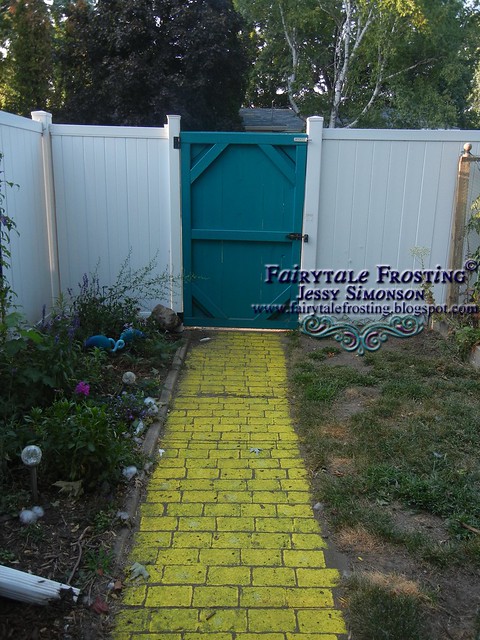
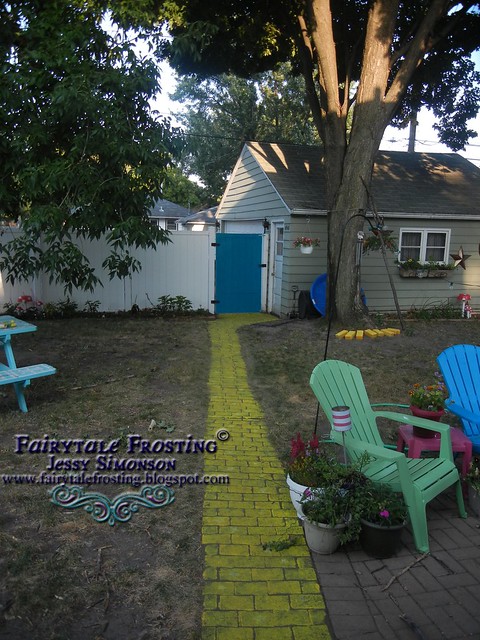
The inspiration for this party actually began a few years ago. One of my "long term" garden projects was to transform my ugly concrete into the yellow brick road. I want to create the magical whimsy feel in my yard and the yellow brick road was one way to do it!
Last summer I tried using a yellow tinted concrete stain but it did not achieve the look I wanted. So this year I went over the stain with a darker stain, and then used exterior paint that I sponged onto the sidewalk. The results were fantastic! Here are some before and after pics.
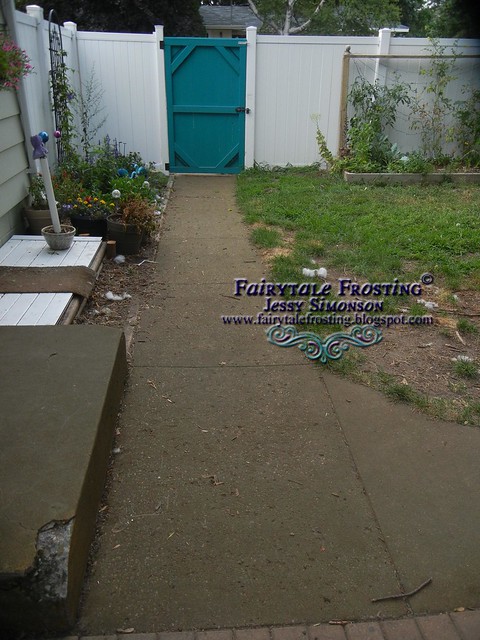

BEFORE
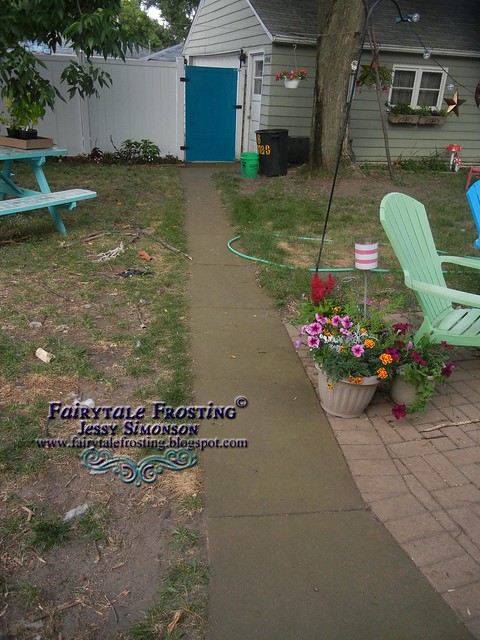
DSCN0415


AFTER
DSCN0536
DSCN0535 DSCN0478 
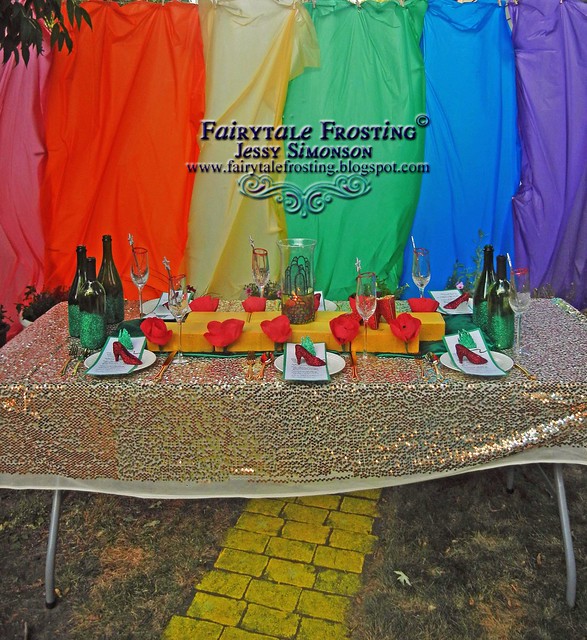
With a sidewalk like that the Wizard of Ozsome party was only natural!
Unfortunately it was really windy that day so my rainbow backdrop didnt look as neat as I would have liked. But the effect was still phenomenal! 
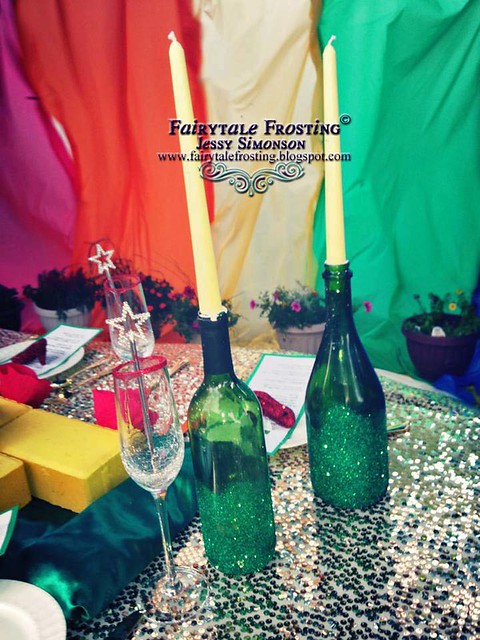
Its not a real party unless I've got glittered wine bottles somewhere!
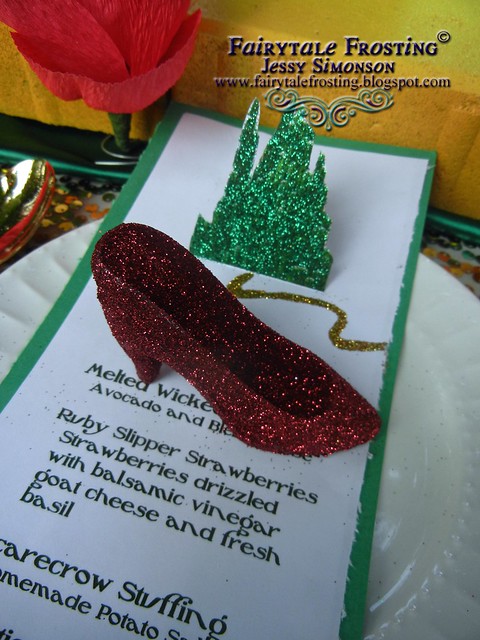


DSCN0467 
DSCN0472 
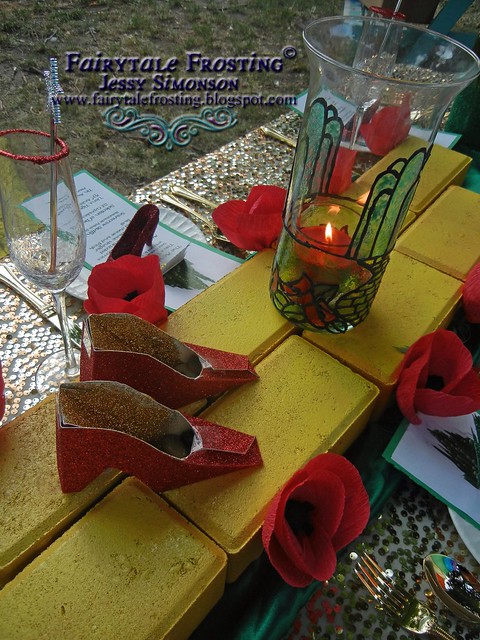
I had some bricks in the garage that I painted yellow. I used stained glass paint and a Dollar Store vase to create the Emerald City candle centerpiece. The poppies were also handmade out of crepe paper.
DSCN0480   
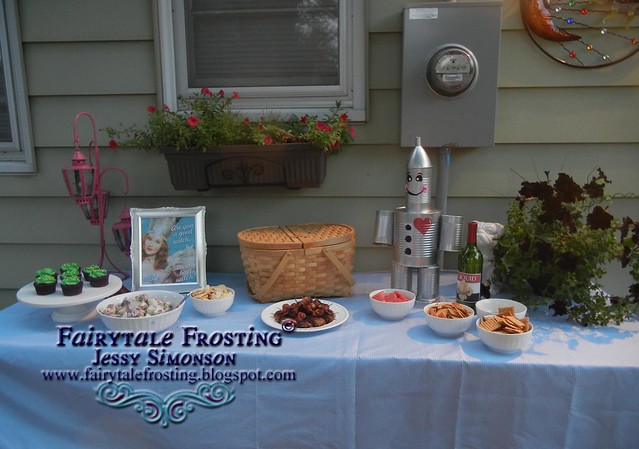
The buffet table
DSCN0463 
I made sure to add some whimsical touches to the buffet as well!
1186299_10101391762883088_1162884873_n 
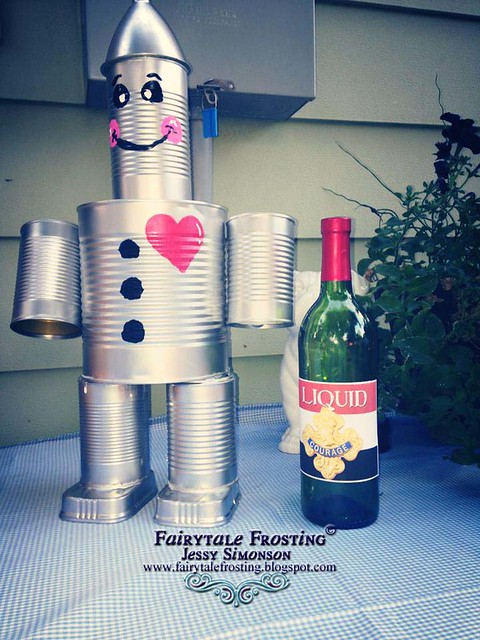
I made the Tin Man from soup cans and designed a custom wine bottle label too!
DSCN0489  
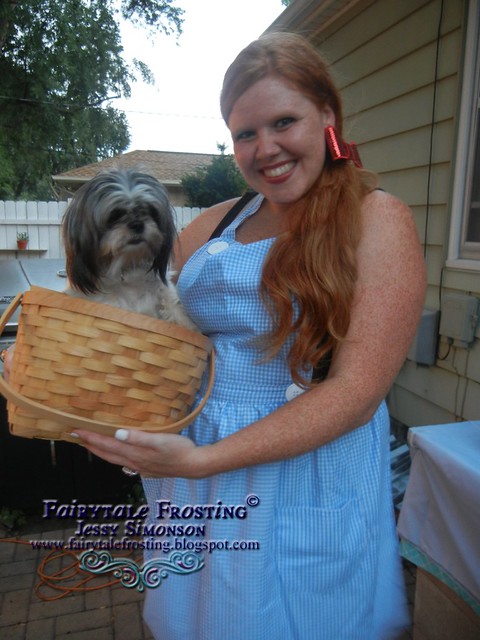
My Mom had made me a Dorothy inspired hostess apron, which went along perfectly with my current foster dog, Moxie.
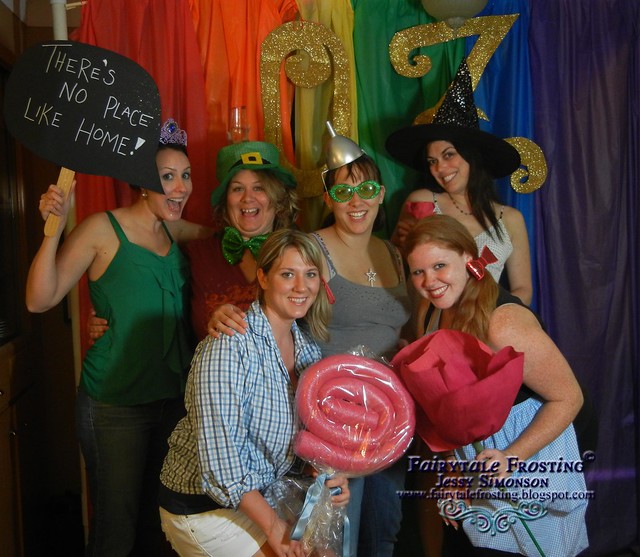
 
We of course had to have a photobooth set up inside too! This is one of my favorite shots of the group.
Lastly, here is another one of my favorite photos that I instagrammed that night.  

This may be my favorite of all of the parties I've thrown! We had such a magical time!
 photo BlogSignaturecopy_zps136f6d8e.jpg

Wednesday, October 9, 2013

DIY Garden Globes

Yes, I am still posting about garden stuff even though its October. In my defense it was sunny and 70s here in Minnesota yesterday. Im in denial that its autumn.
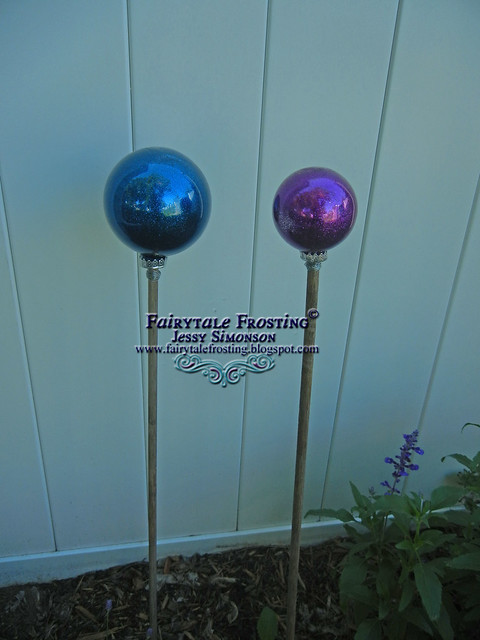
Today's project is a Pinterest Win!!! I saw a few tutorials on how to make your own glitter Christmas ornaments and I thought, well, why not turn that into garden art?!
I had purchased some plastic and glass ornaments at Michael's at the end of last season. I had grand intentions of making something cool out of them, but as a lot of projects go, I never got to it. I decided to use them for the garden instead.


BLOG Globes1 
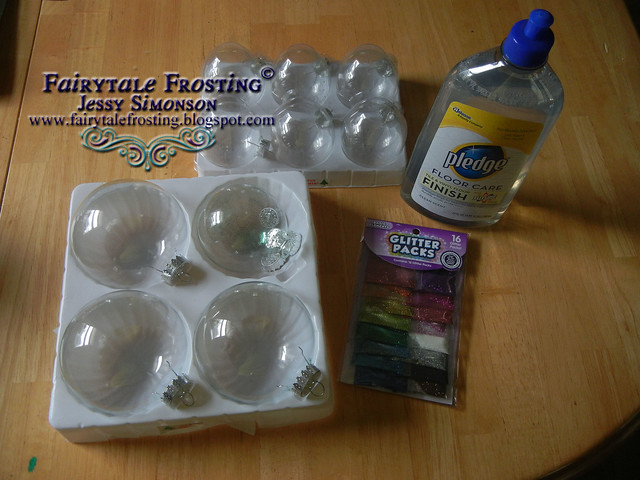
Supplies you will need:
Variety of glass and/or plastic ornaments
Glitter
Pledge Floor Care Finish Cleaner (I was only able to find this at Wal-Mart)

Supplies not pictured:
Wood dowels that will fit inside your ornaments
Floral wire

To make the glitter globes is really easy. Pour a little bit of the floor care solution into the ornament. Pour a bit of glitter into the ornament. Cover the opening, swish and swirl around until the globe is covered. Add more glitter if needed. Do not add more floor cleaner though, it will make the glitter clumpy.
Set the ornament back in the try to dry. Repeat with all of them. I let mine dry over night.

BLOG Globes2  
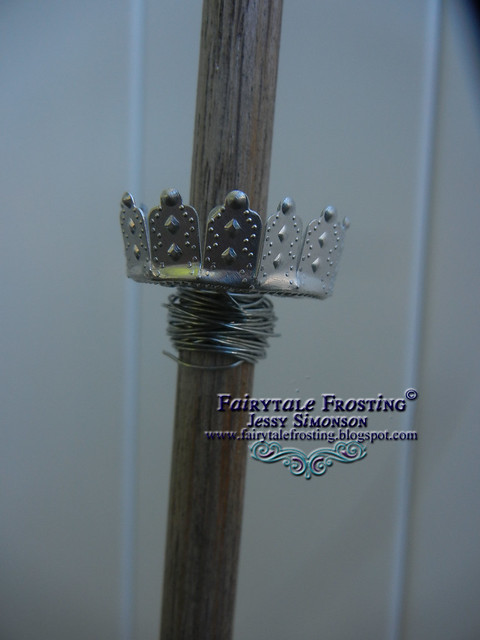
To make them into garden stakes, I removed the hanger hooks and kept the cover piece for each ornament. I had to use my Big Bite Hole Punch to make the openings wider to slide the dowel through. I wrapped floral wire around the dowel, thick enough so the ornament piece wouldn't slide down past it.
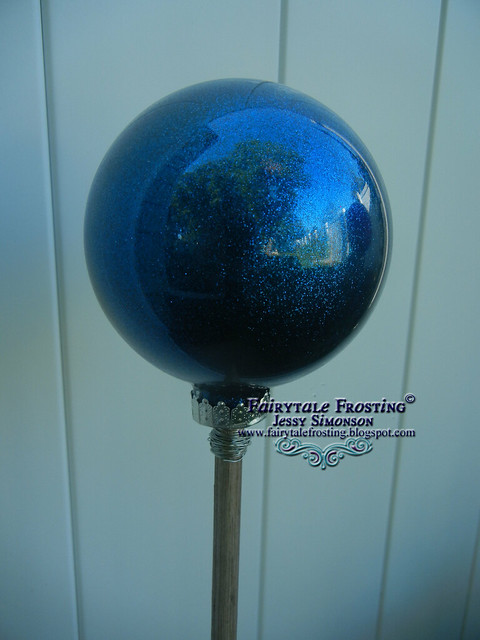
Once secure, slide your ornament onto the dowel and into the cover. The dowel should hit the top of the ornament for it to sit right. Don't worry, I didn't have any problem with it ruining the glitter finish inside.
You may need to adjust where the wire/cover sit on the dowel.
Once this step is complete, insert your dowel into the ground and......

BLOG Globes3  
VIOLA!!! A beautiful glittery garden globe stake!

BLOG Globes5 
Pretty fun huh?

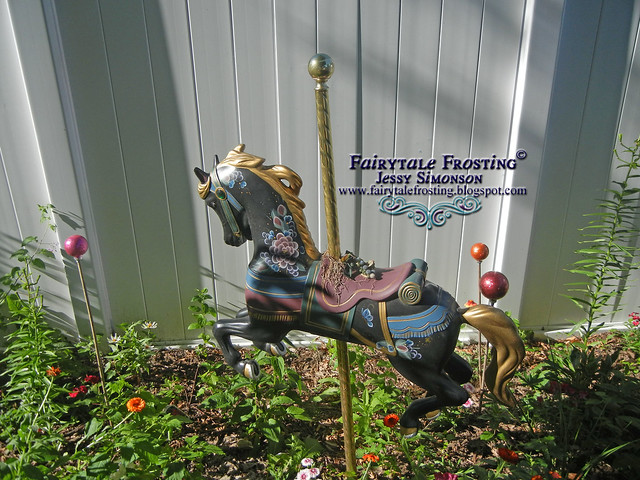
I am into quirky garden art so I made a few to go around my carousel horse too!
What kind of fun garden art did you make this season?

   photo BlogSignaturecopy_zps136f6d8e.jpg

Wednesday, October 2, 2013

Mushroom Garden Art

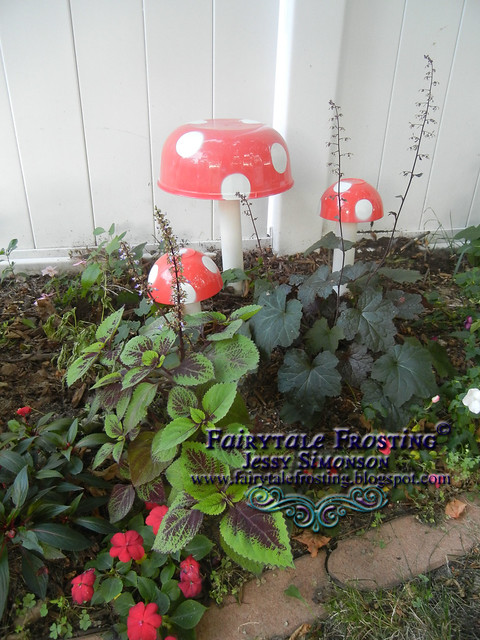
Mushrooms have been really popular this season. Or maybe its just me. I dont know, but I decided that I needed some in my yard. I got this crazy idea to use up some left over PVC pipe I had in the garage and some Dollar Store bowls I picked up. Check out how easy it is to make your own garden mushrooms!

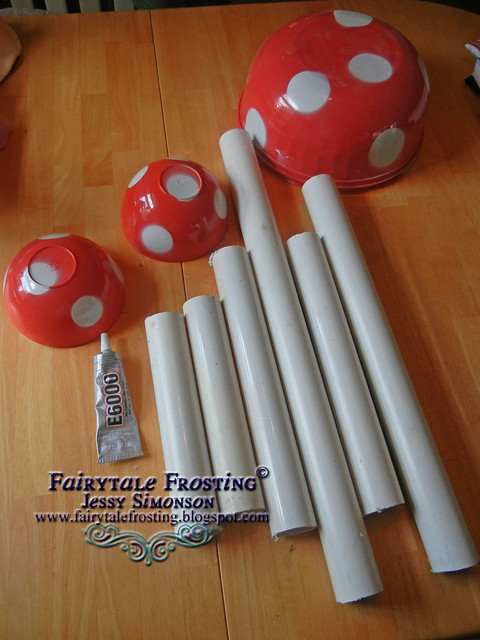
All you need are some plastic bowls, PVC pipe, spray paint, and heavy duty glue. I used E6000.
I picked up some red bowls at the Dollar Store and spray painted white circles on them. I simply used my Cricut to cut a circle and then used the negative paper as a stencil.

  BLOG Mushrooms 2  
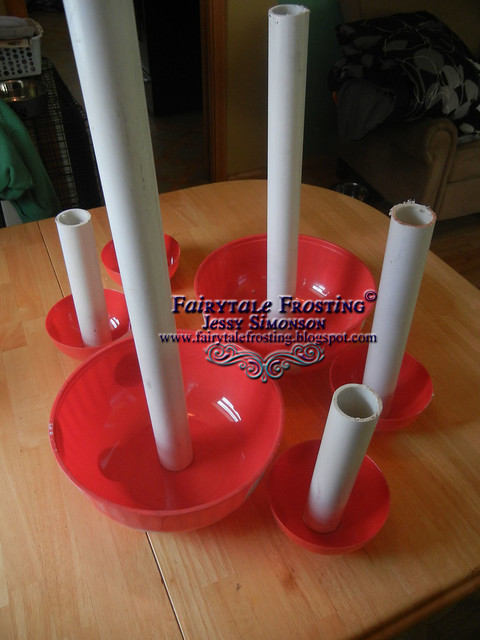
Once the bowls are painted and dry, turn them right side up, place a layer of glue onto an end of the PVC pipe and set it inside the bowl. Allow at least 24 hours to fully dry.
  BLOG Mushrooms 3  
I just dug a hole a few inches deep and secured each mushroom into the ground. How fun is that?!
  BLOG Mushrooms 4 
I love how easy this was and the charm it adds to my gardens!
You could even get really crazy and make different colored mushrooms! Perhaps I'll add some blue or green ones next season!

 photo BlogSignaturecopy_zps136f6d8e.jpg

Tuesday, September 10, 2013

For The Love of Teal

Hello! I know, its been almost all summer and I've hardly updated this blog at all! I am so sorry that I've been M.I.A. for so long, but I've thought of you guys all summer! I've got lots of projects and fun things to share so I hope to have more regular posts coming your way for awhile.
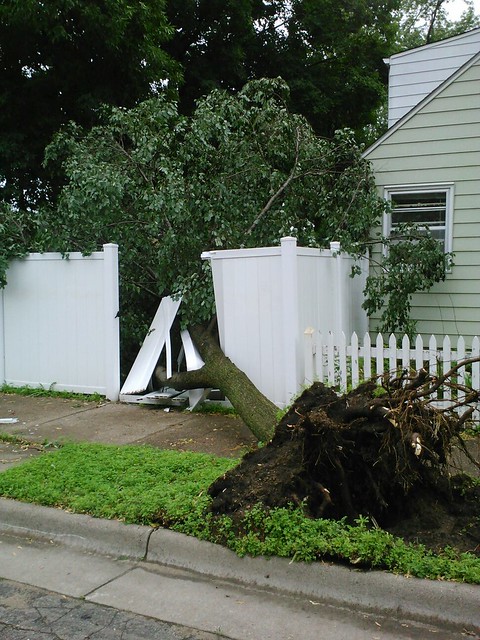
So let me start by taking you back to earlier this summer.  Minneapolis had a wicked storm roll through the city and it took down hundreds upon thousands of trees, almost excursively from the city boulevards.  On the night of this storm, I was enjoying the power outage down the road at a friend's house when my neighbor messaged me that a tree feel down into my yard.

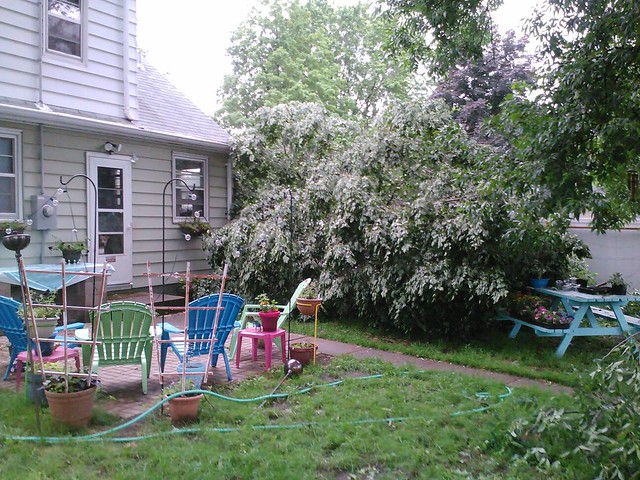
It doesnt look too bad right? I mean, it missed the house! That is until you see how it looks inside the yard....
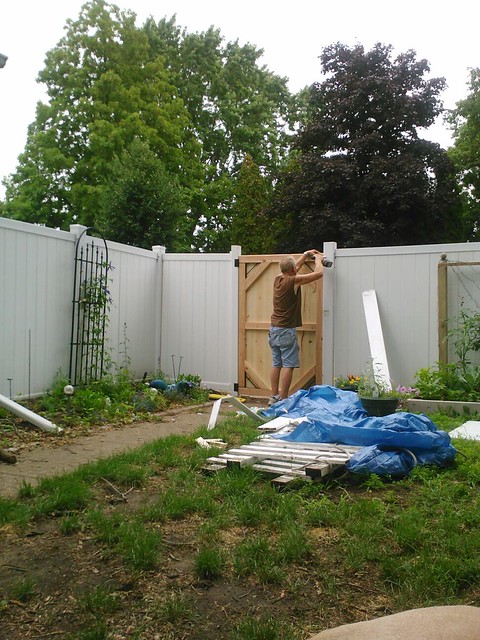
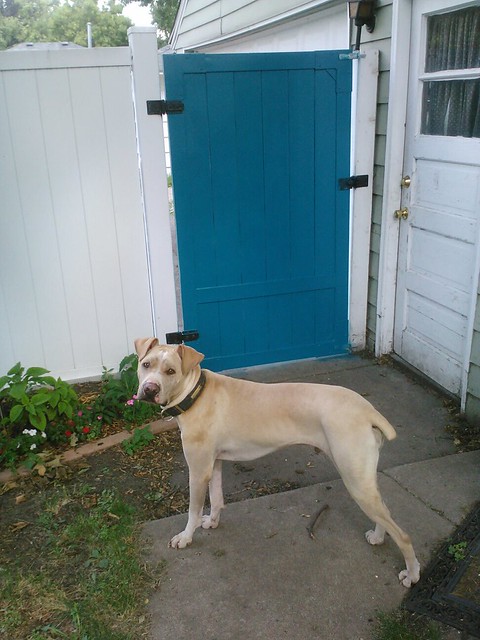
Nice huh? I cant really complain though. My fence is only a few years old, and I have a gate that I cannot stand. Its not very strong, and my dogs have broken through it before. Coincidentally, the tree fell through that particular gate! Thats was essentially the only damage! 
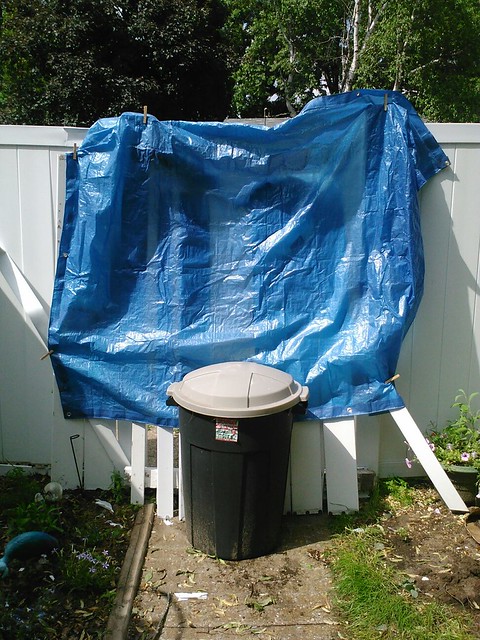
My parents were going to come visit and build a new gate for me. One that was sturdier and would keep my dogs from going crazy every time someone walked by. I had to wait about 2 weeks, so this was how I made it work until then.  
Classy huh?
But it was only temporary!
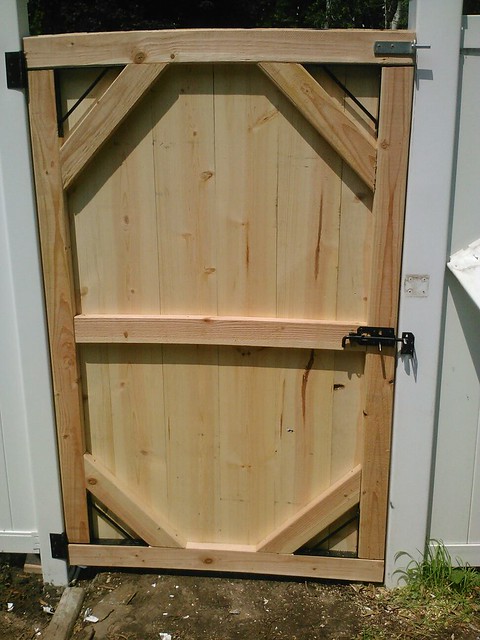
Gary got to work building the gate, I have a feeling he thinks this was the funnest project he's ever worked on!
1040423_10151436354637470_381671115_o 
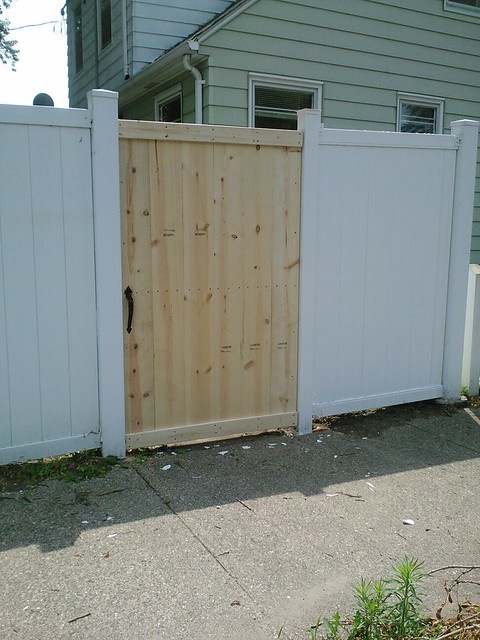
A day and a half later, I had this beautiful new gate!! Now, I could have chosen to paint it white, but anyone that knows me, knows, normal is not my thing.
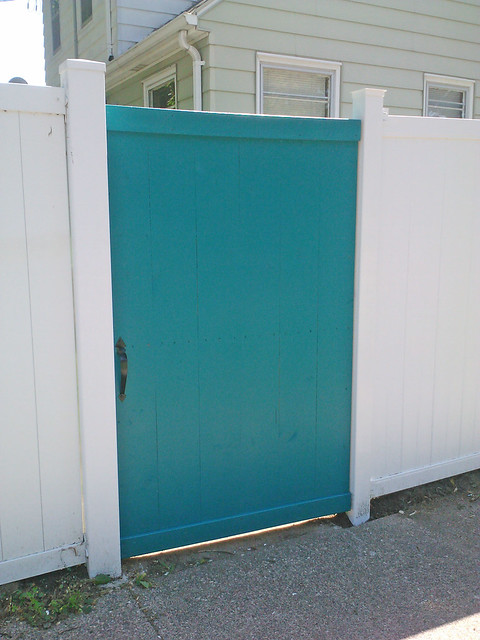
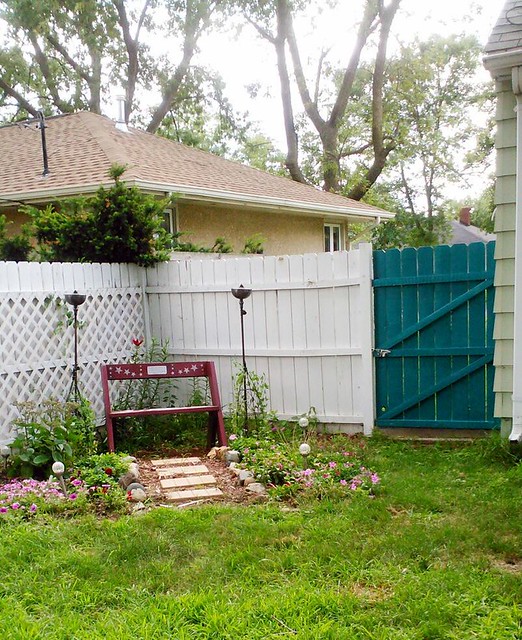
I chose to go with a bold shade of teal! I absolutely LOVE it!! I was so inspired I decided to paint the two other gates I have on this fence!
This gate is a slightly different shade. I had to use spray paint on this one because the gate is PVC. But I still love how it turned out. The difference is subtle, so I doubt anyone will notice.
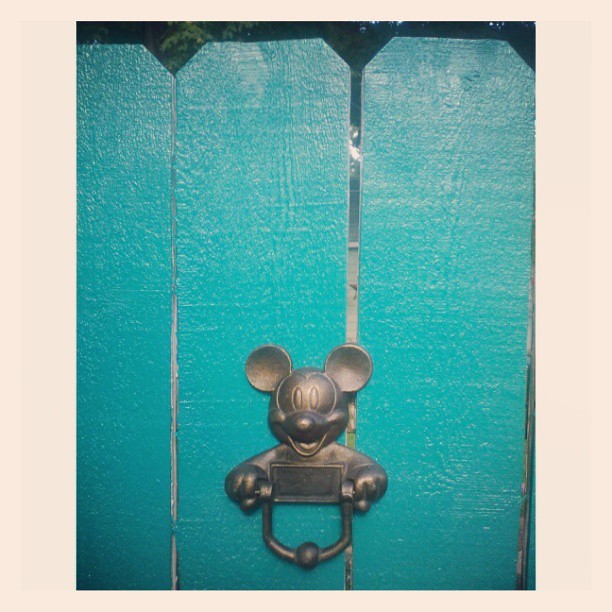
This gate is on the other side of my house, not the street side. I painted this the same color and decided to add a decorate touch! My brother had given me this Disney door knocker a few years ago, but I hadn't had a door to install it on.....
Pretty fun right?!
So this was the first of many projects I took on this summer. I know we are approaching fall and everyone will be sharing their pumpkin recipes, but I am going to hang onto summer just a bit longer and share more projects from my yard! Stay tuned!
 
 photo BlogSignaturecopy_zps136f6d8e.jpg

Thursday, June 13, 2013

DIY Dinosaur Planters

Today the sun is actually shining. If you live in Minnesota, you know, our spring has sucked. Cold, gray, and rain. I was keeping myself busy with lots of crafty things anticipating that someday spring or summer (at this point I didnt care which) would show up.
One of those projects was Dino Planters! These are actually pretty small planters, but they are super fun and easy to do.

DIY Dino Planters  
All you need to start are some plastic dinos. I found these in a $1 toy bin at Wal-mart. I spray painted them blue and yellow.
DIY Dino Planters  
Take a razor blade/box cutter and carefully cut a hole to create the planter opening. I also poked a couple of holes in their bellies for drainage. 
Fill with a little potting soil and a plant and RRRRWWWAAAARRRRR! You have Dinosaur Planters!! 
In case you're curious, I planted moss roses in mine.
What kind of fun garden planters do you have this year?

Monday, September 3, 2012

Drinks on the Patio Part III: Stake Holder

Last week I showed you how to make wine glass holders and beer holders both of which work great in the ground. However, if you're like me, you have a brick or concrete patio and stakes just don't really cut it. To solve this problem, I constructed these....
I wanted my drink stakes to sit basically at arms level so I picked up 2 terra cotta pots of the same size.
I have bright colors on my patio, so I painted the pots and then glued the bottoms together with E6000 Glue. I also glued 4 of those plastic furniture sliders to the bottom of the base pot. I found them at Target, and instead of using the foam stickers, I just glued them on.  This way, I can move the pots around without it scraping up my patio.
I filled the top pot with potting soil and in addition to adding in the stakes I planted some potato vine in it. To cover the dirt I used white dried kidney beans.
I do have another pot on my patio that's a bit larger and just a single one.  I used this for 2 wine glass holders and the wine bottle holder that came with my original purchased set (read about that here)
If you don't want the height of the stacked pots, the same principle applies to just using a single pot.  I filled that with potting soil and covered with kidney beans. 
Now you have a fun unique spot to hold all of your drinks while entertaining on your patio!

Wednesday, August 29, 2012

Drinks on the Patio Part II: Beer Holder Stake

To continue yesterday's post, today I'll show you what you need to make a beer holder stake!
You will need:
1 Empty Can       
  *I used an empty tomato sauce can, and chose the bigger size. I wanted a bit more flexibility of the type of drinks I could put in it.  Bigger can felt like it would give me that flexibility.
Threaded Rod (I used 3/4", you can use 1/2" or whatever you prefer)
2 Washers (make sure to buy them to fit the size rod you have)
2 Bolts (again make sure they will fit the size rod you have)
Drill or large nail and hammer to make a hole in the can
Glue (I used E6000)
Spray paint (optional)
Hack Saw (or other saw to cut threaded rod if necessary)

Directions:
1. If you desire, spray paint your can whatever color you like.
2. Once can is dry, use your drill or hammer/nail to punch a hole in the bottom of the can.
3. Cut your threaded rod (if needed) to desired height for your beer holder to sit
4. Place first bolt on the threaded rod, move a few inches down.
5. Place first washer on top of the bolt.
6. Slide the can on, then inside the can, add the second washer, followed by the bolt
7. Hold the can flush against the inside washer and tighten the bold until the rod is flush with the top of the bolt.
8. Turn your can over and add a dab of glue to the bottom of the can, then slide the washer on top of the glue.
9. Tighten the bottom bolt until flush against the base of the can.
10. Allow to dry, then stake in the ground and enjoy your beer! (or water, or other bottled beverage that you want to fit in there!)

Stay tuned in! Tomorrow you can learn how to make stake holders for your patio!

Thursday, August 9, 2012

50 Shades of Fabulous

Every year I throw a garden party. I'm a novice gardener, but I like to show off what I manage to grow in my yard. This year, my girlfriends and I were all reading the 50 Shades of Grey books. I thought it would be really fun to create a dinner party with a 50 Shades theme, thus 50 Shades of Fabulous was born!

I set the table up in my backyard starting with a dip dyed ombre table cloth. I was dying for an excuse to try that project!

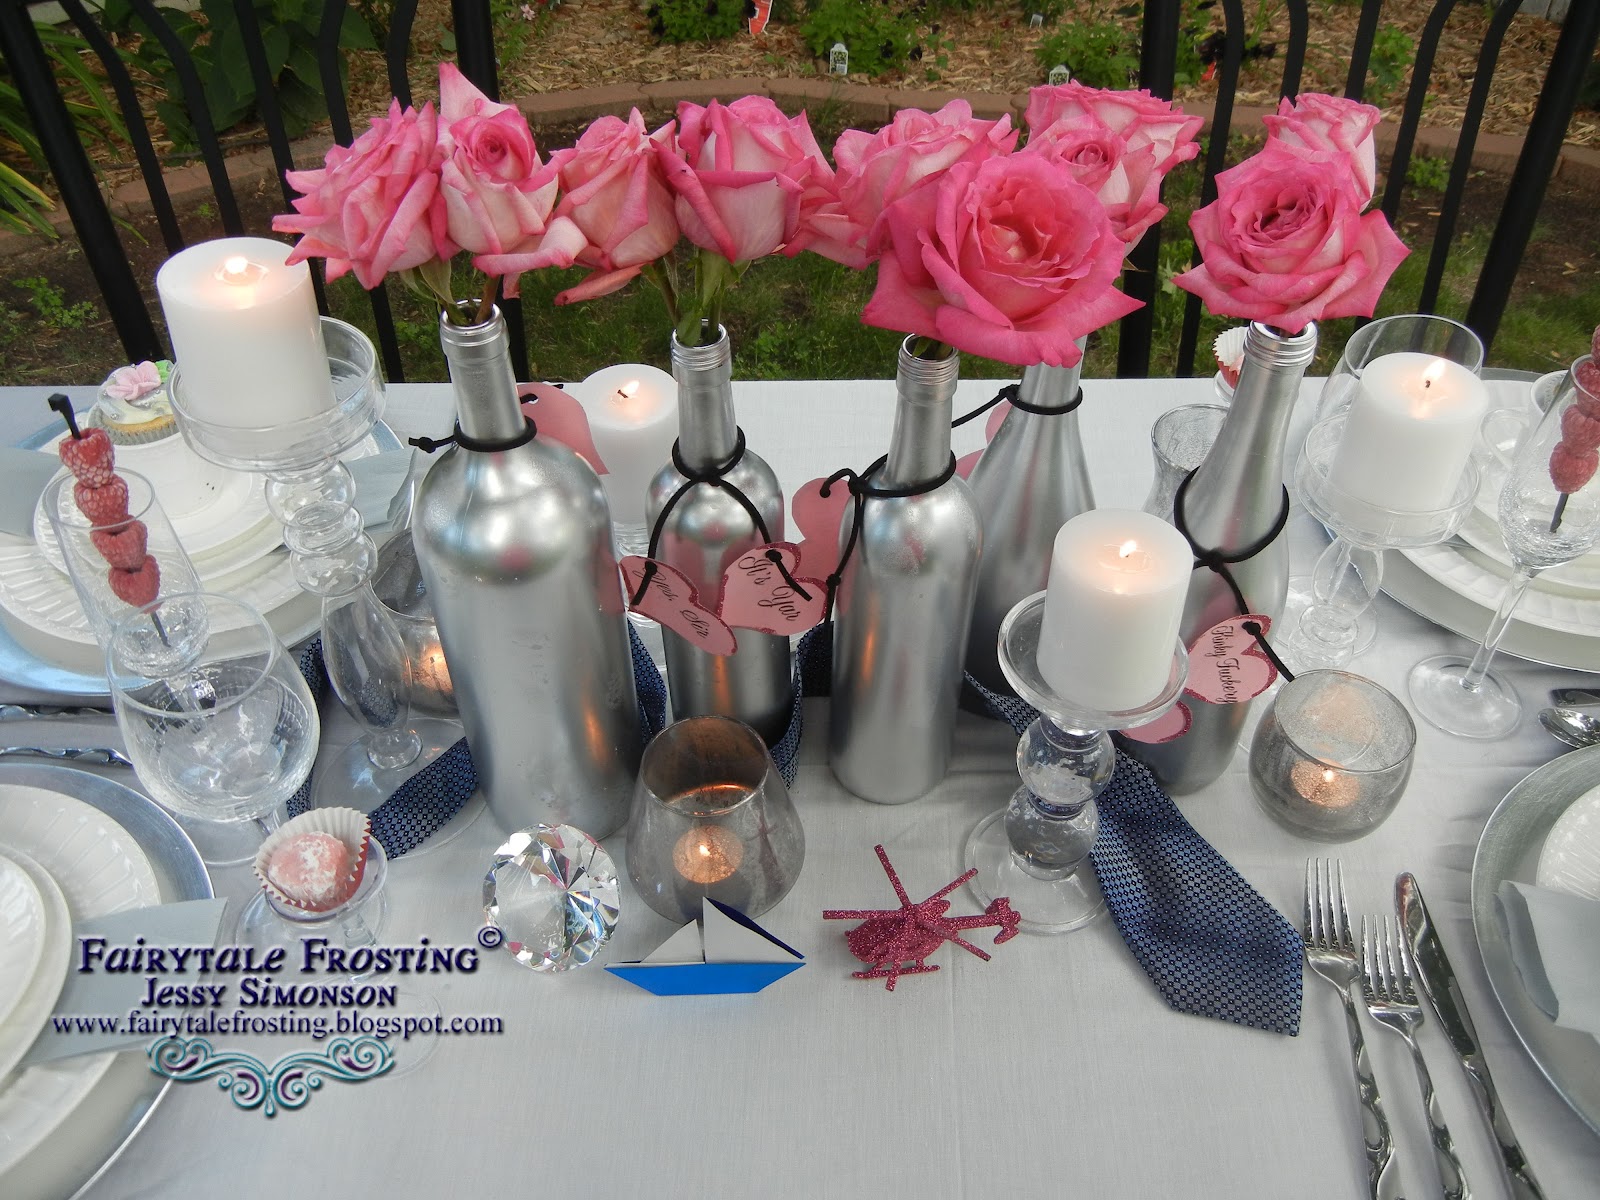
The centerpiece of the table was full of fun details from the book. I recycled some wine bottles by spray painting them silver and filling them with blush pink roses. The main female character Ana was known for always blushing.  Some other details include the blue/gray tie weaved through the bottles, I folded an origami sailboat to represent The Grace, a glittered pink helicopter to represent Charlie Tango, and a big diamond!

On the other side of the centerpiece was a pair of handcuffs too!
The bottles were tied with leather ribbon and hung from it was glittered hearts with quotes from the books. Quotes like "Laters Baby" "Yes Sir" and a few others.
Christian and Ana were known to drink La Grande Annee Rose Bollinger Champagne. While I would have loved to have a real bottle of it, its a bit out of my price range. I also have a couple of signature party staples, one of which includes a glittered champagne bottle. I glittered up a bottle and included my own Bollinger label.
To keep our drinks from getting too warm outside, I froze raspberries onto zip ties!
Christian and Ana had a night where they drank Bollinger from tea cups, so I made sure to incorporate tea cups.  What better way than to display cupcakes!
Another party staple I have is a rosette cake, so I made sure a sparkling silver one adorned our table!
Tuxedo strawberries were also part of the table, I mean, hey, Christian was described as looking amazing in a tux!


After dinner, drinks, and a bonfire, I also shared my other party staple....a photo booth! We had a few props, including some hand-made masks.  There are too many goofy photos to share, but here is one to sum it all up.
 It truly was 50 Shades of Fabulous!

LinkWithin

Related Posts with Thumbnails