Showing posts with label Patio. Show all posts

Thursday, October 17, 2013

Wizard of Ozsome!

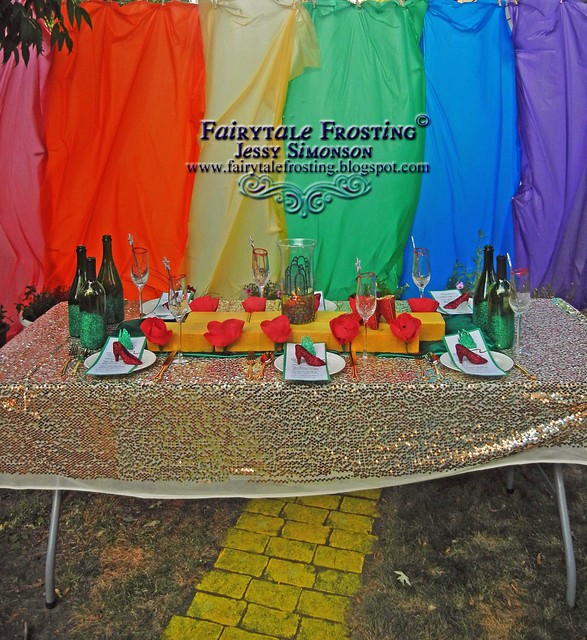
All of these garden projects I have worked on were leading up to my annual garden party. You may recall some of my previous parties. The first was Enter Eden, followed by the Blogiversary, and last year's 50 Shades of Fabulous! My girlfriends have come to know that I always throw a party with a theme, so they were especially excited when I announced this year's theme was inspired by the Wizard of Oz. My dear friend Melissa dubbed it "Wizard of Ozsome"
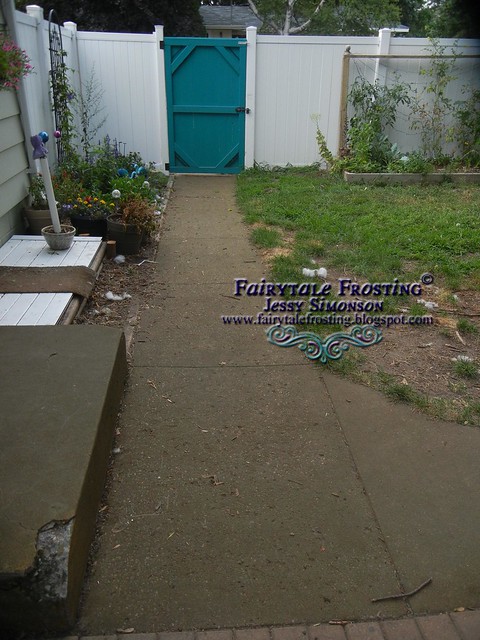
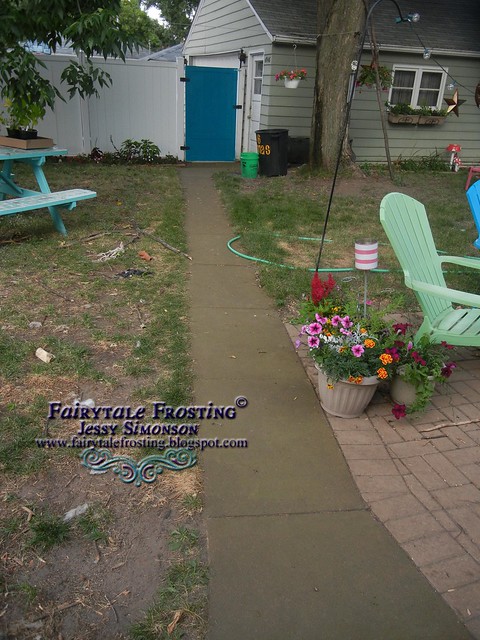
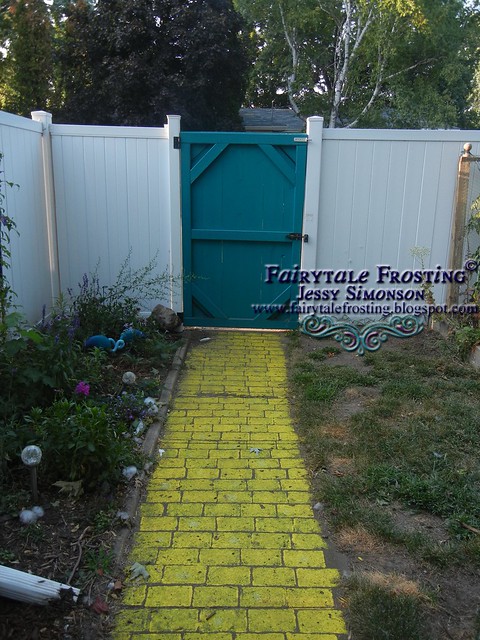
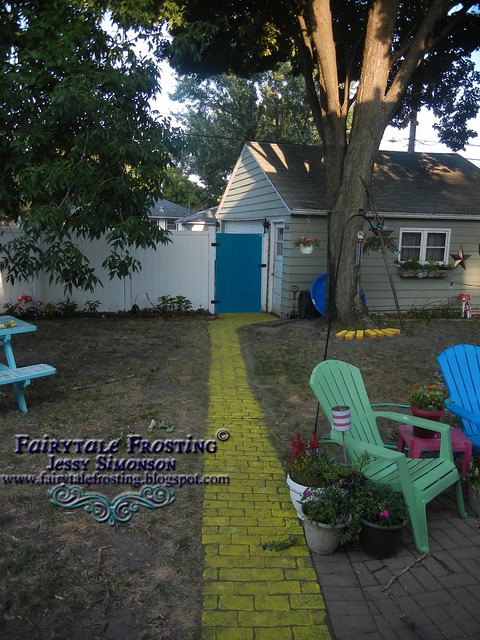
The inspiration for this party actually began a few years ago. One of my "long term" garden projects was to transform my ugly concrete into the yellow brick road. I want to create the magical whimsy feel in my yard and the yellow brick road was one way to do it!
Last summer I tried using a yellow tinted concrete stain but it did not achieve the look I wanted. So this year I went over the stain with a darker stain, and then used exterior paint that I sponged onto the sidewalk. The results were fantastic! Here are some before and after pics.


BEFORE
DSCN0415


AFTER
DSCN0536
DSCN0535 DSCN0478 
With a sidewalk like that the Wizard of Ozsome party was only natural!
Unfortunately it was really windy that day so my rainbow backdrop didnt look as neat as I would have liked. But the effect was still phenomenal! 

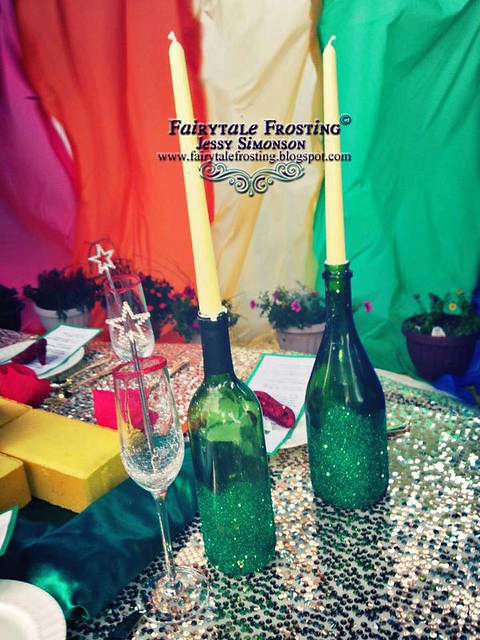
Its not a real party unless I've got glittered wine bottles somewhere!


DSCN0467 
DSCN0472 
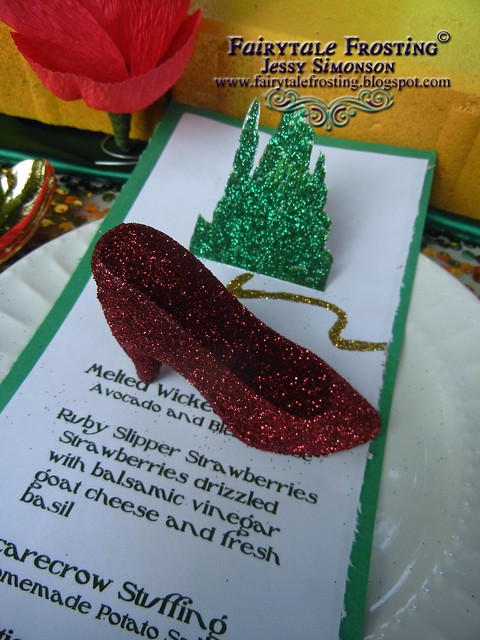
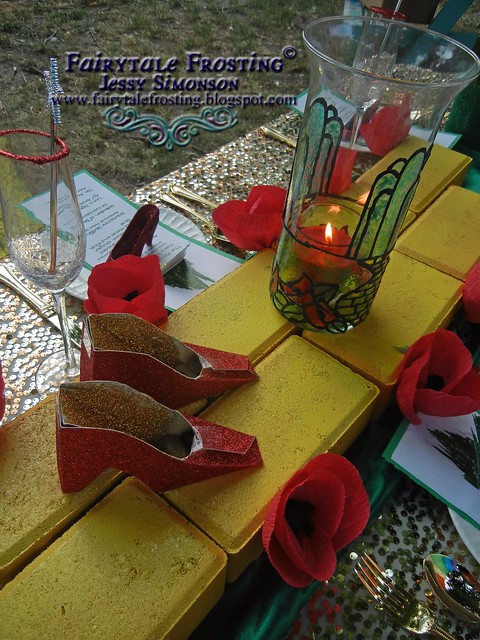
I had some bricks in the garage that I painted yellow. I used stained glass paint and a Dollar Store vase to create the Emerald City candle centerpiece. The poppies were also handmade out of crepe paper.

DSCN0480   
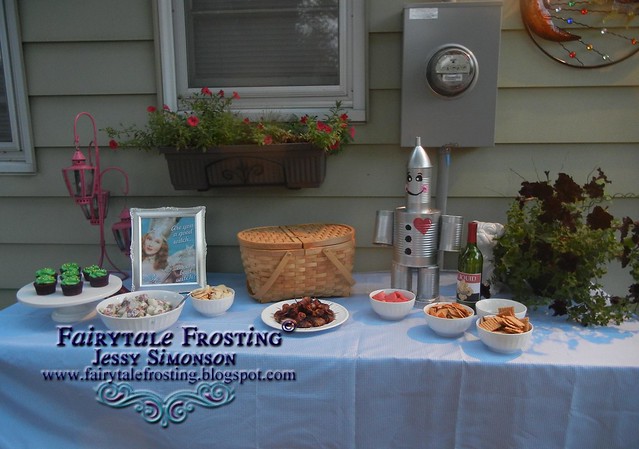
The buffet table
DSCN0463 
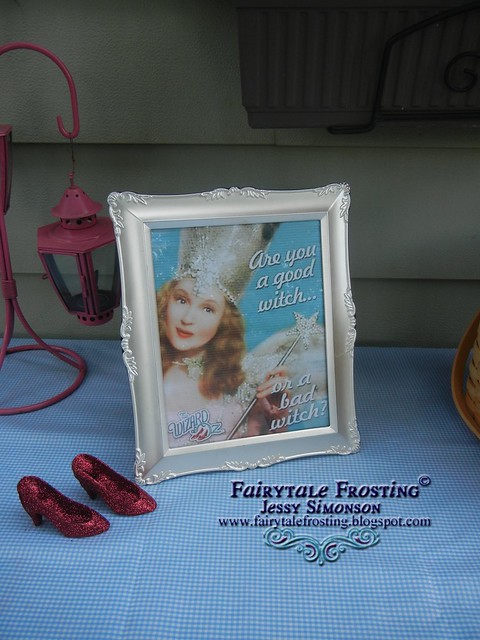
I made sure to add some whimsical touches to the buffet as well!

1186299_10101391762883088_1162884873_n 
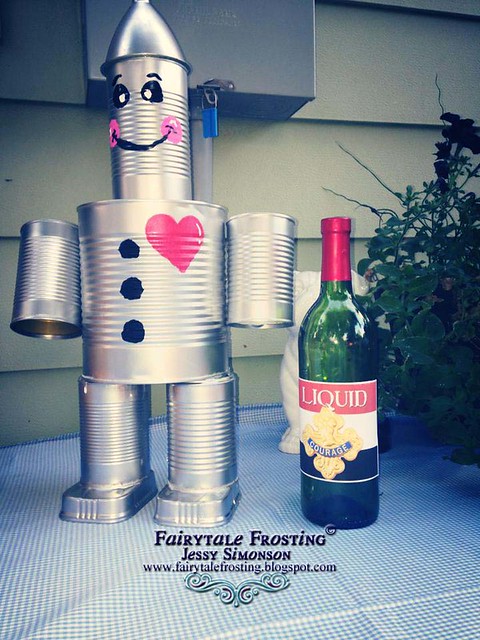
I made the Tin Man from soup cans and designed a custom wine bottle label too!
DSCN0489  
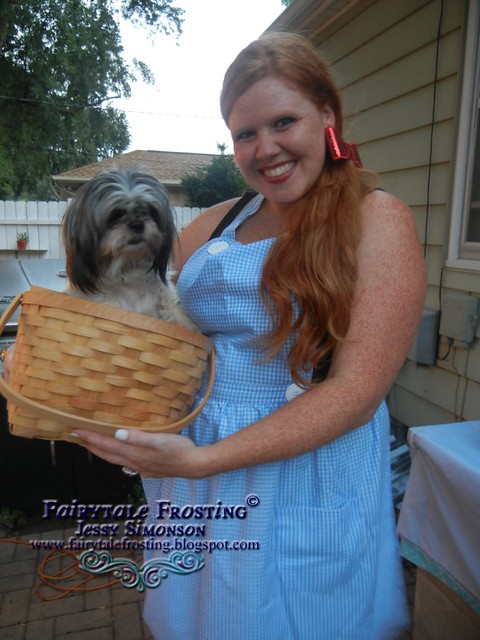
My Mom had made me a Dorothy inspired hostess apron, which went along perfectly with my current foster dog, Moxie.
 
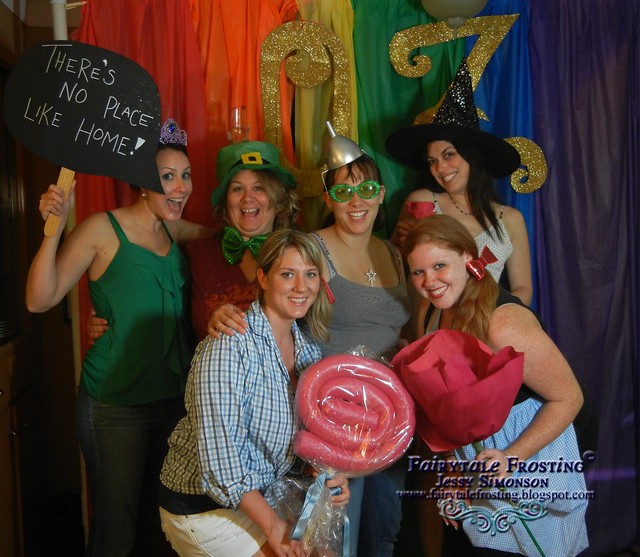
We of course had to have a photobooth set up inside too! This is one of my favorite shots of the group.
Lastly, here is another one of my favorite photos that I instagrammed that night.  

This may be my favorite of all of the parties I've thrown! We had such a magical time!

 photo BlogSignaturecopy_zps136f6d8e.jpg

Friday, June 21, 2013

Glow In The Dark Wine Glasses

Yesterday I posted about my DIY Patio Bar but there are a couple of other projects that go along with that. Today's project, glow in the dark wine glasses!!
I wanted some fun wine glasses for the patio, but I didnt want to risk breakage. I picked up some plastic glasses on sale at Bed, Bath and Beyond for just under $2 each. Then I headed over to Michaels for the paint to decorate them.


BLOG 2Glow in the Dark Glasses
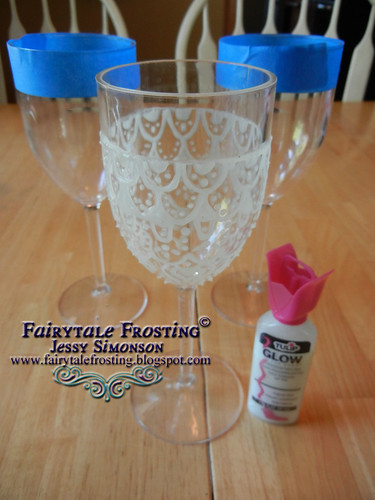
I grabbed a bottle of the Tulip Glow In The Dark Puffy Paint and got to work!
I decided to tape off the top of the glass for easier cleaning and so you dont have to put your lips on the textured puffy paint when drinking from them.
BLOG 3Glow in the Dark Glasses
I didnt follow any sort of pattern, I just sort of went at it. I did all of the designs freehand off the top of my head.
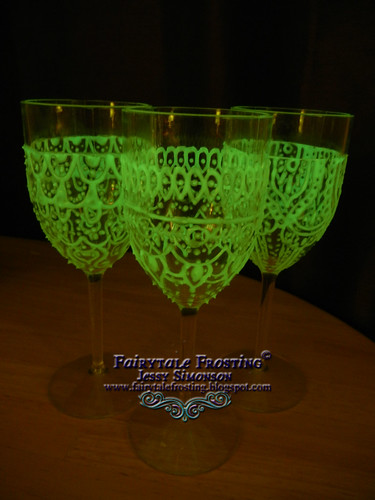
After "charging" them in the sunlight, this is how they turned out! Its a fun little touch when your patio party stems into the evening hours. 
 photo BlogSignaturecopy_zps136f6d8e.jpg

Thursday, June 20, 2013

DIY Patio Bar

Summer has finally arrived and my favorite thing to do is hang out on my patio with friends. Previously I had my picnic table on the patio, but I never really liked how that layout looked and functioned. This season I was determined to come up with a better solution. Then it dawned on me, I had an  old door in the basement collecting dust. It was the perfect size for a bar/buffet!! So I moved the picnic table under one of the trees in my yard and got to work.
I went to Menards and picked up 16 cinder blocks and some construction adhesive.  Here is a picture of the bar in the making.


DIY Patio Bar 
It really was just as simple as gluing and stacking the blocks together! I laid the door across the top, and viola! It was done! Last season I had purchased an outdoor tablecloth on clearance at Big Lots, so I grabbed that to cover the door.
DIY Patio Bar
I also got some picnic tablecloth clips to ensure it stayed in place.
Another fun fact about this set up, I got the bar tool set, brand new in the box, at a garage sale for $5. The wine glasses are another DIY project I'll be featuring soon, and so is the pink lantern! So stay tuned!
I gotta tell you, having this set up has made a world of difference. I had friends over for a cookout and we set up the buffet. Everyone enjoyed dinner comfortably at my picnic table under the tree and we weren't crammed for space. I love how functional this really turned out to be!
Do you have any DIY projects for your patio that just really made a difference in "patio living"?

 photo BlogSignaturecopy_zps136f6d8e.jpg

LinkWithin

Related Posts with Thumbnails