The inspiration for this party actually began a few years ago. One of my "long term" garden projects was to transform my ugly concrete into the yellow brick road. I want to create the magical whimsy feel in my yard and the yellow brick road was one way to do it!
Last summer I tried using a yellow tinted concrete stain but it did not achieve the look I wanted. So this year I went over the stain with a darker stain, and then used exterior paint that I sponged onto the sidewalk. The results were fantastic! Here are some before and after pics.
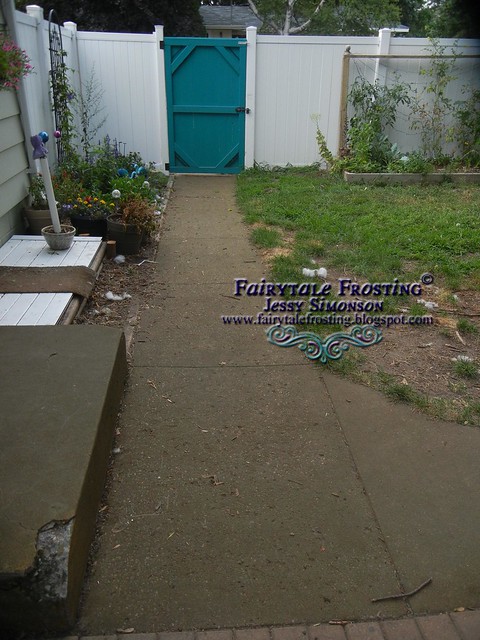
BEFORE
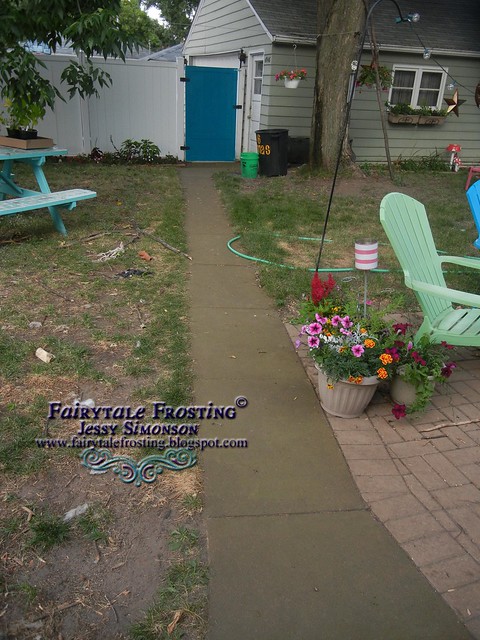
AFTER
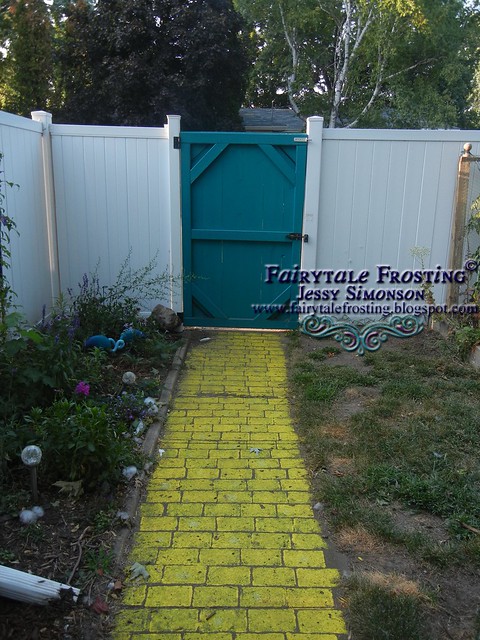
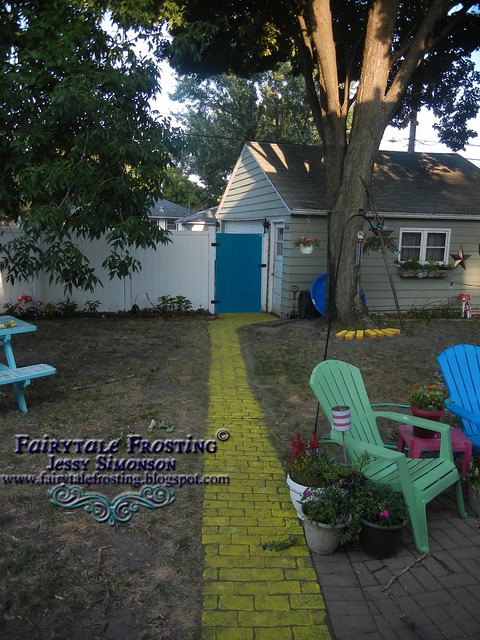
With a sidewalk like that the Wizard of Ozsome party was only natural!
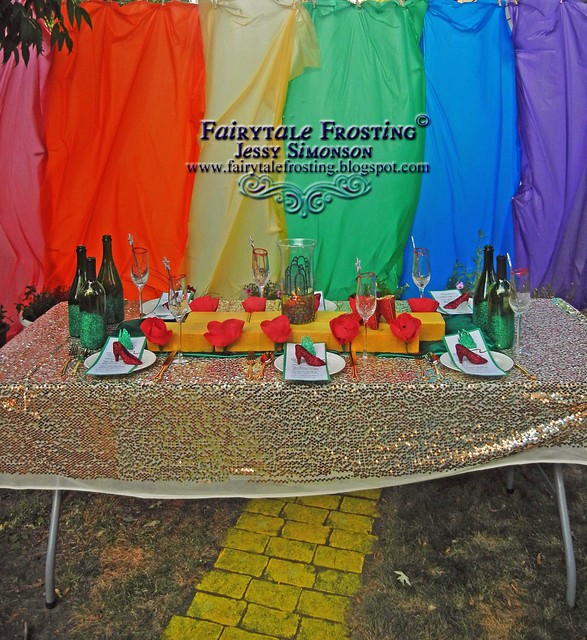
Unfortunately it was really windy that day so my rainbow backdrop didnt look as neat as I would have liked. But the effect was still phenomenal!
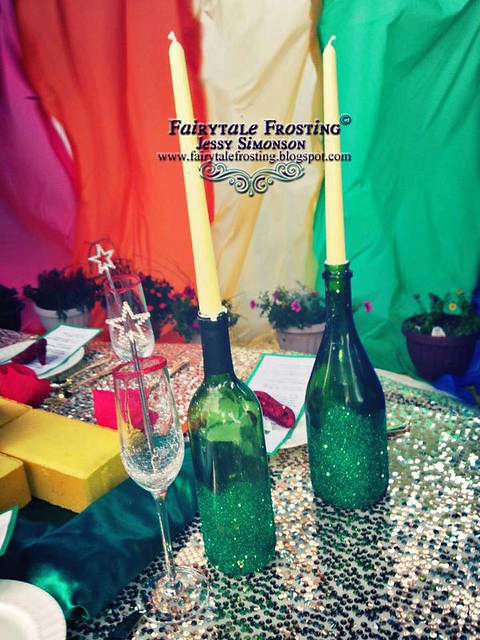
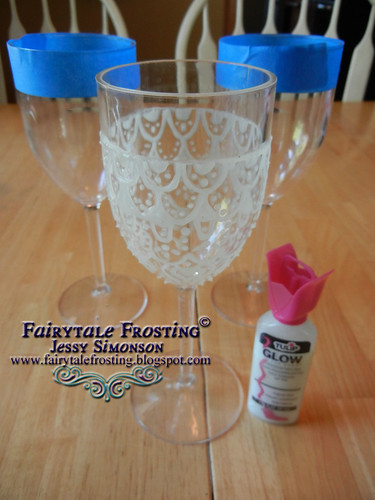
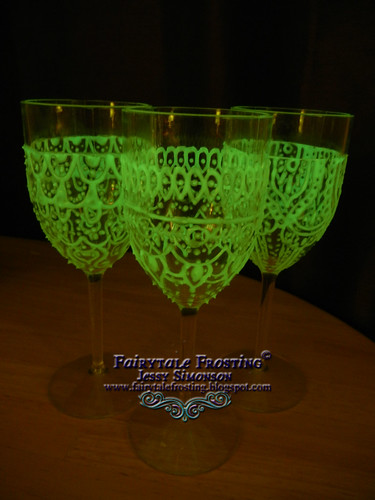
Its not a real party unless I've got glittered wine bottles somewhere!
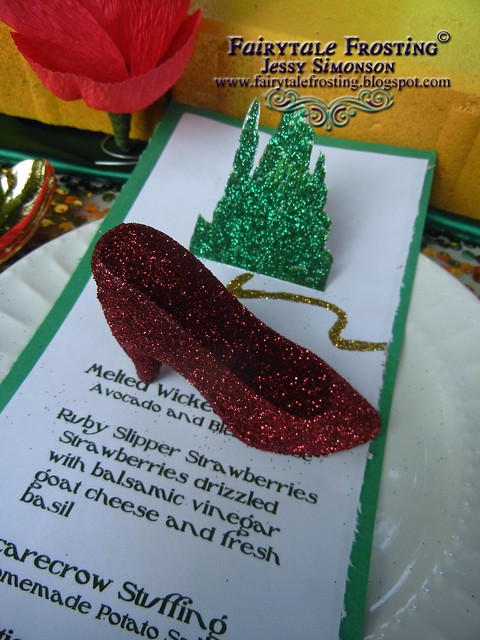
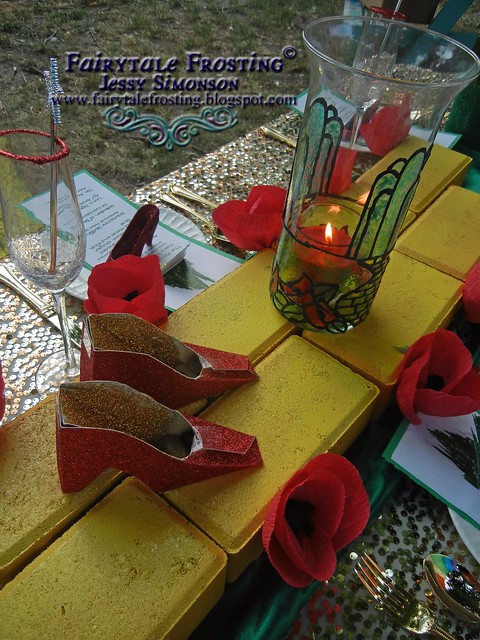
I had some bricks in the garage that I painted yellow. I used stained glass paint and a Dollar Store vase to create the Emerald City candle centerpiece. The poppies were also handmade out of crepe paper.
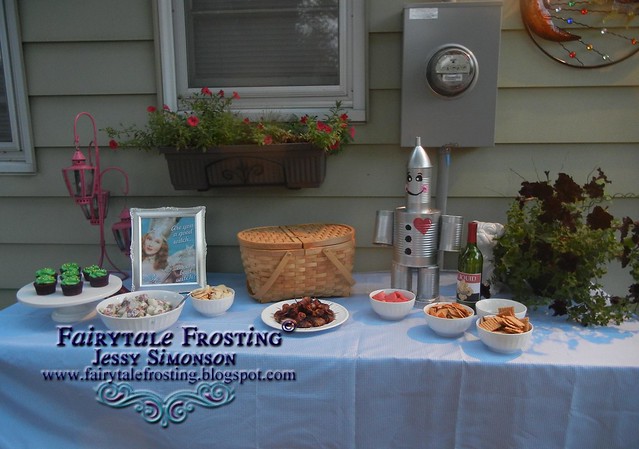
The buffet table
I made sure to add some whimsical touches to the buffet as well!
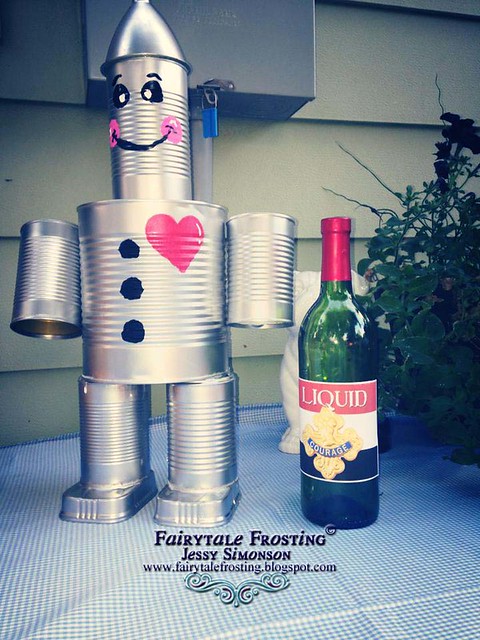
I made the Tin Man from soup cans and designed a custom wine bottle label too!
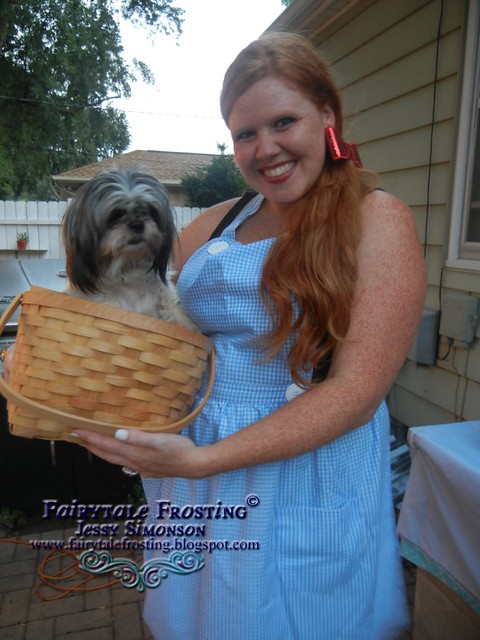
My Mom had made me a Dorothy inspired hostess apron, which went along perfectly with my current foster dog, Moxie.
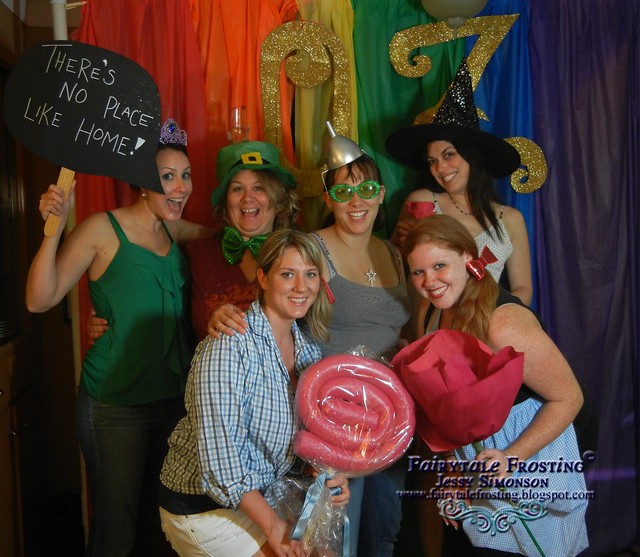
We of course had to have a photobooth set up inside too! This is one of my favorite shots of the group.
Lastly, here is another one of my favorite photos that I instagrammed that night.

This may be my favorite of all of the parties I've thrown! We had such a magical time!