Tuesday, November 5, 2013

Mustache Fiesta!

What can I say, I'm a lazy blogger. I've got tons to share with you and really need to get my butt back in gear and post regularly!
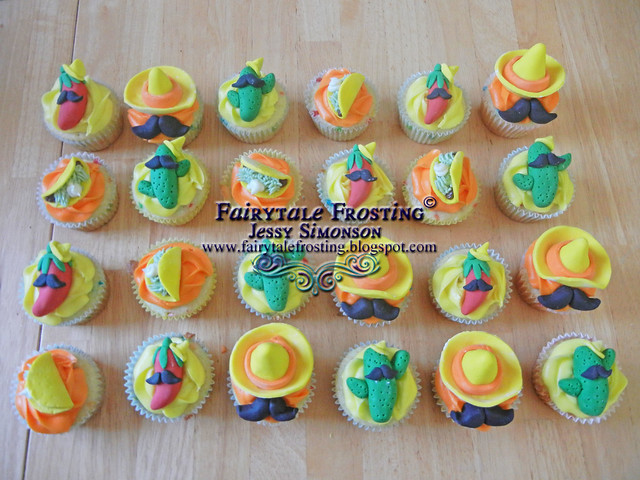
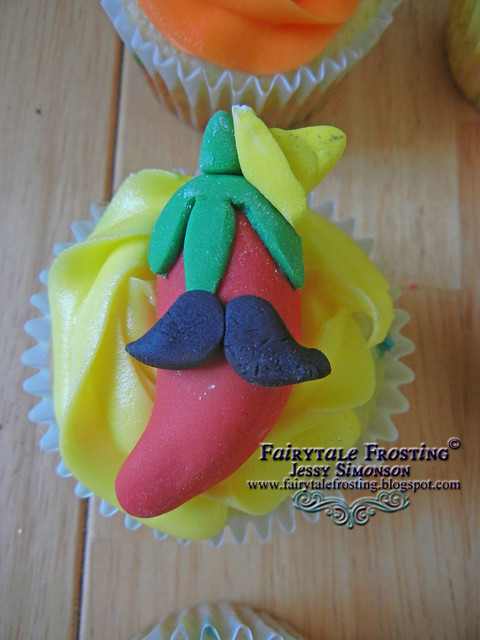
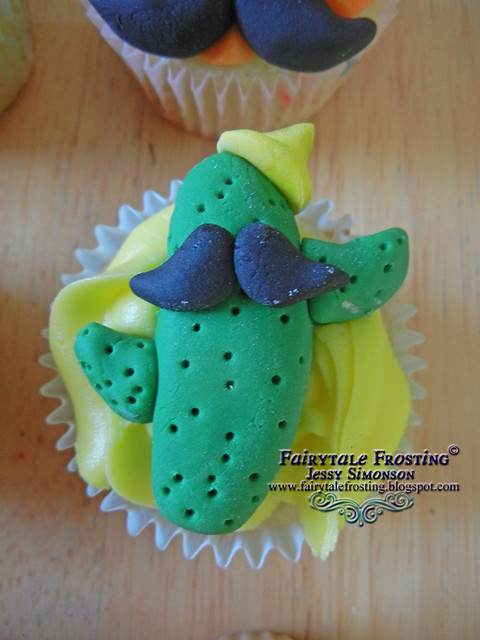
Today I want to share with you a recent order I did. The party was a fiesta but they also were really into the mustache trend, thus the Mustache Fiesta was born!
BLOG Mustache Fiesta    


BLOG Mustache Fiesta Taco  
 BLOG Mustache Fiesta Pepper 
 BLOG Mustache Fiesta Hat 
 BLOG Mustache Fiesta Cactus 
 BLOG Mustache Fiesta Angle  


 photo BlogSignaturecopy_zps136f6d8e.jpg

Thursday, October 17, 2013

Wizard of Ozsome!

All of these garden projects I have worked on were leading up to my annual garden party. You may recall some of my previous parties. The first was Enter Eden, followed by the Blogiversary, and last year's 50 Shades of Fabulous! My girlfriends have come to know that I always throw a party with a theme, so they were especially excited when I announced this year's theme was inspired by the Wizard of Oz. My dear friend Melissa dubbed it "Wizard of Ozsome"
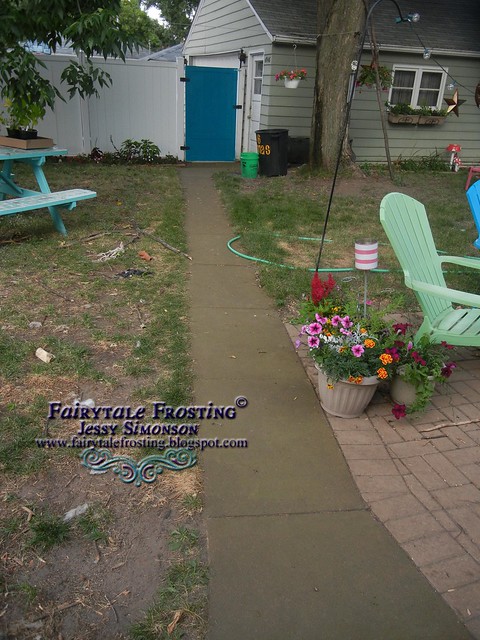
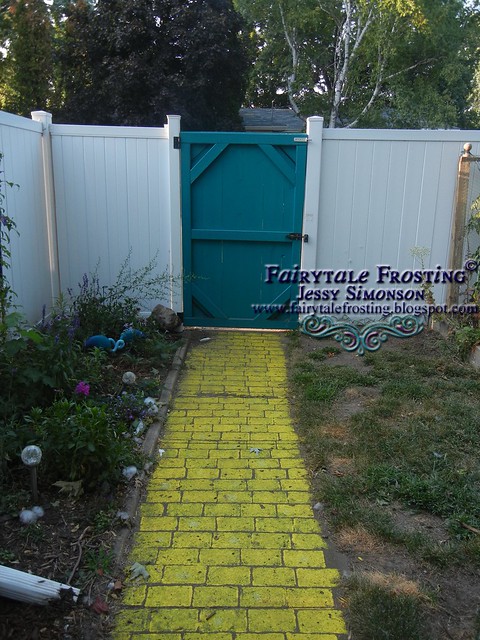
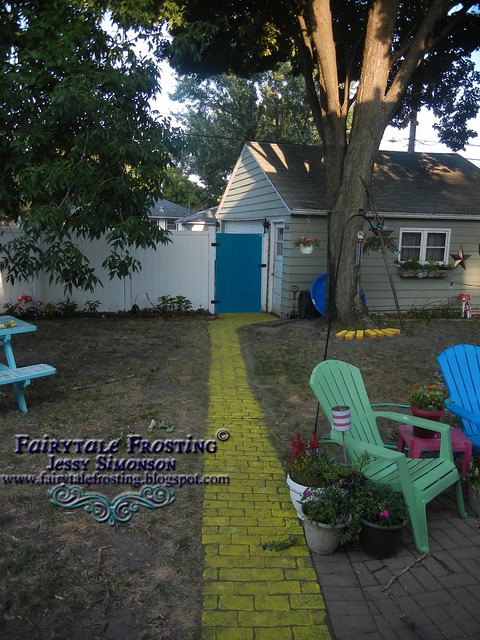
The inspiration for this party actually began a few years ago. One of my "long term" garden projects was to transform my ugly concrete into the yellow brick road. I want to create the magical whimsy feel in my yard and the yellow brick road was one way to do it!
Last summer I tried using a yellow tinted concrete stain but it did not achieve the look I wanted. So this year I went over the stain with a darker stain, and then used exterior paint that I sponged onto the sidewalk. The results were fantastic! Here are some before and after pics.


BEFORE
DSCN0415


AFTER
DSCN0536
DSCN0535 DSCN0478 
With a sidewalk like that the Wizard of Ozsome party was only natural!
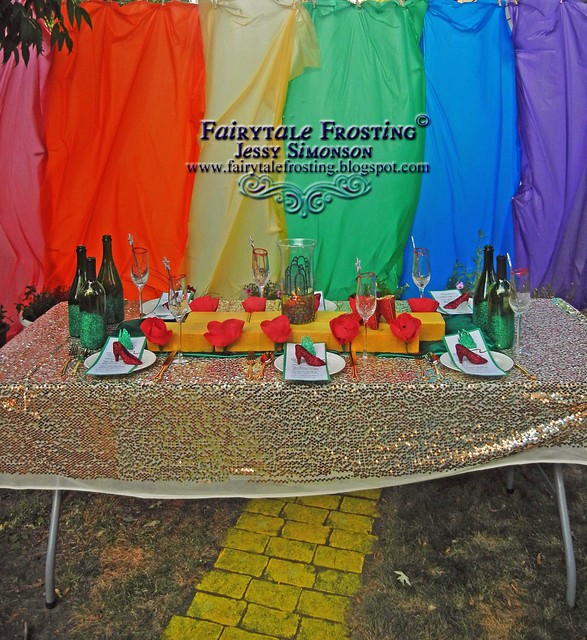
Unfortunately it was really windy that day so my rainbow backdrop didnt look as neat as I would have liked. But the effect was still phenomenal! 

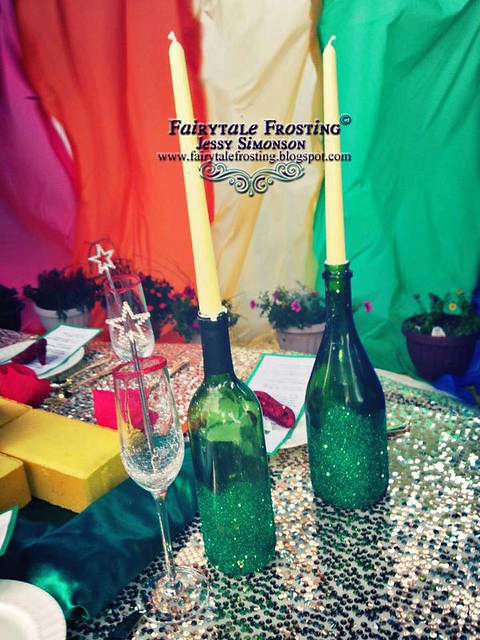
Its not a real party unless I've got glittered wine bottles somewhere!


DSCN0467 
DSCN0472 
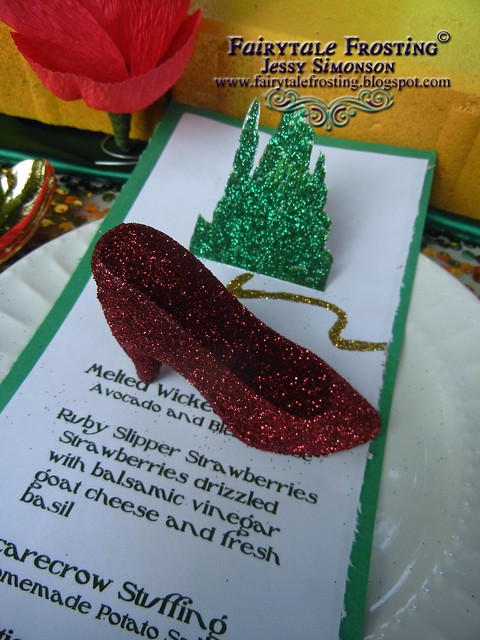
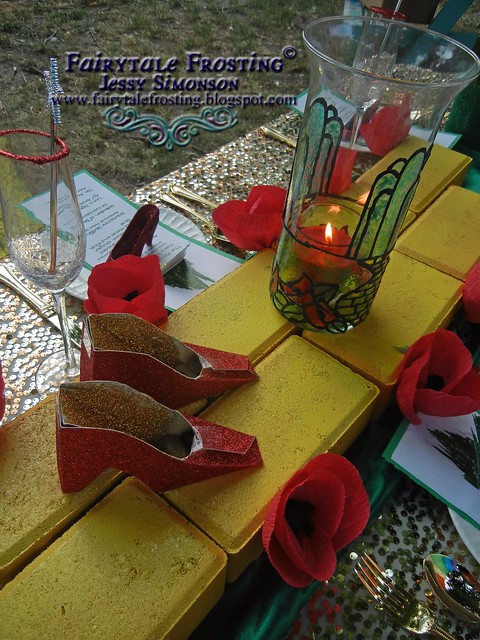
I had some bricks in the garage that I painted yellow. I used stained glass paint and a Dollar Store vase to create the Emerald City candle centerpiece. The poppies were also handmade out of crepe paper.

DSCN0480   
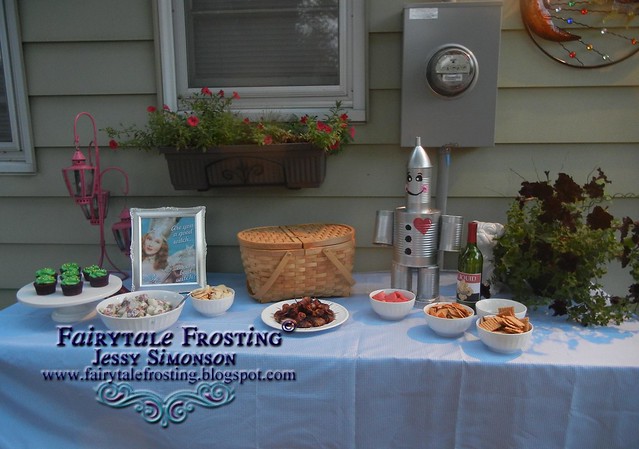
The buffet table
DSCN0463 
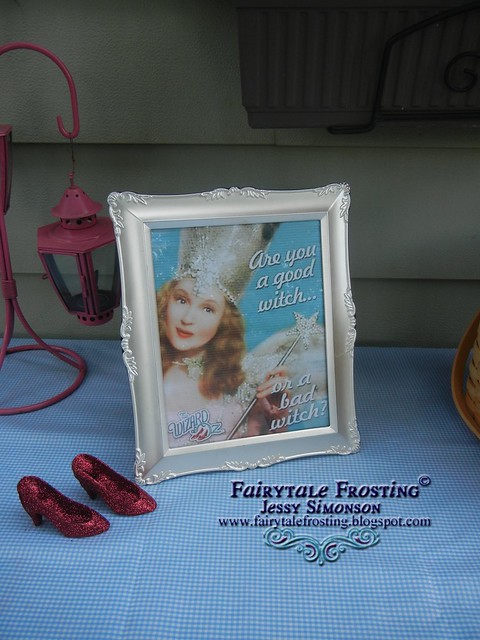
I made sure to add some whimsical touches to the buffet as well!

1186299_10101391762883088_1162884873_n 
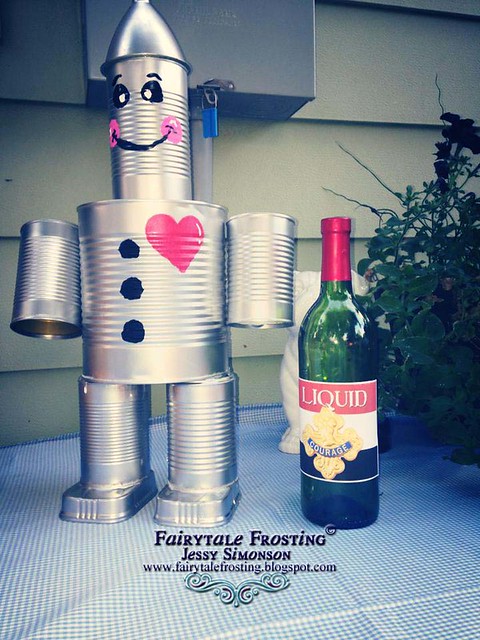
I made the Tin Man from soup cans and designed a custom wine bottle label too!
DSCN0489  
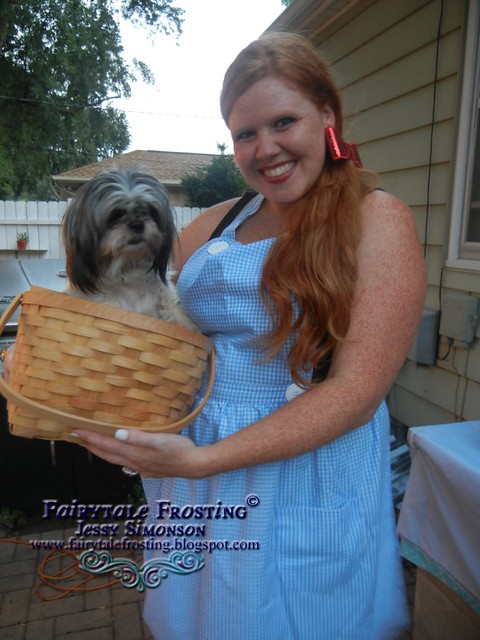
My Mom had made me a Dorothy inspired hostess apron, which went along perfectly with my current foster dog, Moxie.
 
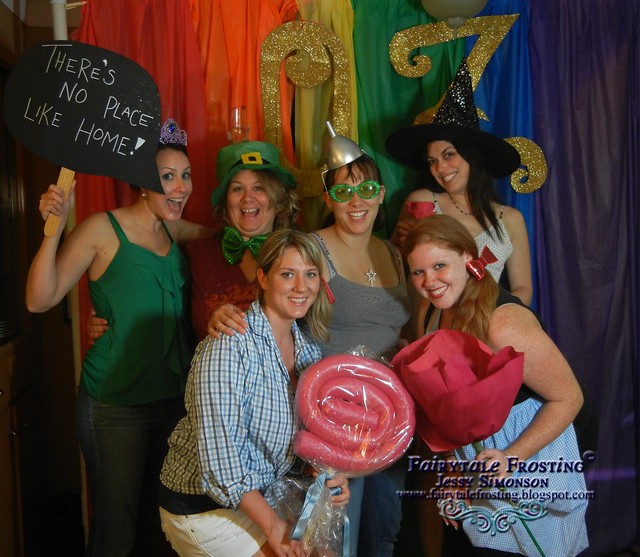
We of course had to have a photobooth set up inside too! This is one of my favorite shots of the group.
Lastly, here is another one of my favorite photos that I instagrammed that night.  

This may be my favorite of all of the parties I've thrown! We had such a magical time!
 photo BlogSignaturecopy_zps136f6d8e.jpg

Wednesday, October 9, 2013

DIY Garden Globes

Yes, I am still posting about garden stuff even though its October. In my defense it was sunny and 70s here in Minnesota yesterday. Im in denial that its autumn.
Today's project is a Pinterest Win!!! I saw a few tutorials on how to make your own glitter Christmas ornaments and I thought, well, why not turn that into garden art?!
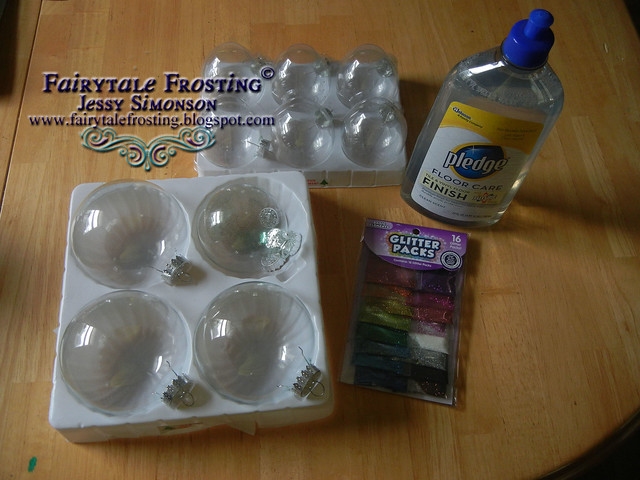
I had purchased some plastic and glass ornaments at Michael's at the end of last season. I had grand intentions of making something cool out of them, but as a lot of projects go, I never got to it. I decided to use them for the garden instead.


BLOG Globes1 
Supplies you will need:
Variety of glass and/or plastic ornaments
Glitter
Pledge Floor Care Finish Cleaner (I was only able to find this at Wal-Mart)

Supplies not pictured:
Wood dowels that will fit inside your ornaments
Floral wire

To make the glitter globes is really easy. Pour a little bit of the floor care solution into the ornament. Pour a bit of glitter into the ornament. Cover the opening, swish and swirl around until the globe is covered. Add more glitter if needed. Do not add more floor cleaner though, it will make the glitter clumpy.
Set the ornament back in the try to dry. Repeat with all of them. I let mine dry over night.

BLOG Globes2  
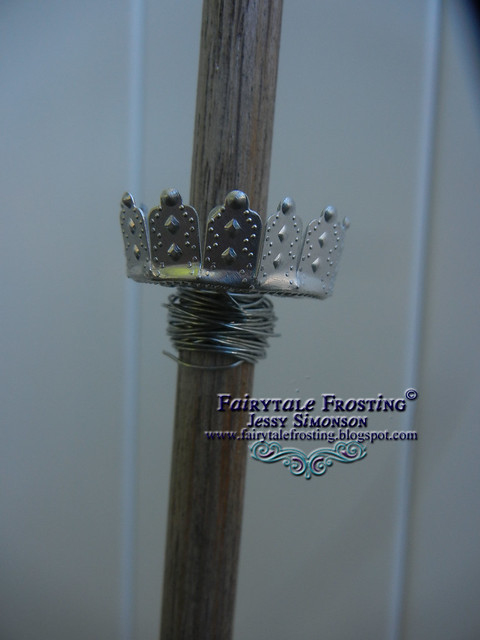
To make them into garden stakes, I removed the hanger hooks and kept the cover piece for each ornament. I had to use my Big Bite Hole Punch to make the openings wider to slide the dowel through. I wrapped floral wire around the dowel, thick enough so the ornament piece wouldn't slide down past it.
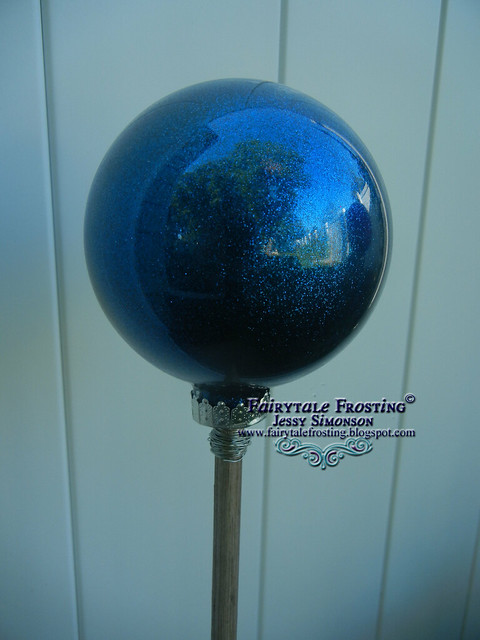
Once secure, slide your ornament onto the dowel and into the cover. The dowel should hit the top of the ornament for it to sit right. Don't worry, I didn't have any problem with it ruining the glitter finish inside.
You may need to adjust where the wire/cover sit on the dowel.
Once this step is complete, insert your dowel into the ground and......

BLOG Globes3  
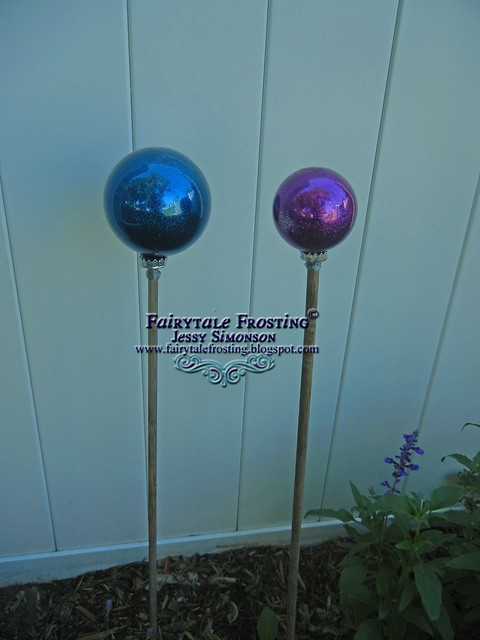
VIOLA!!! A beautiful glittery garden globe stake!

BLOG Globes5 
Pretty fun huh?

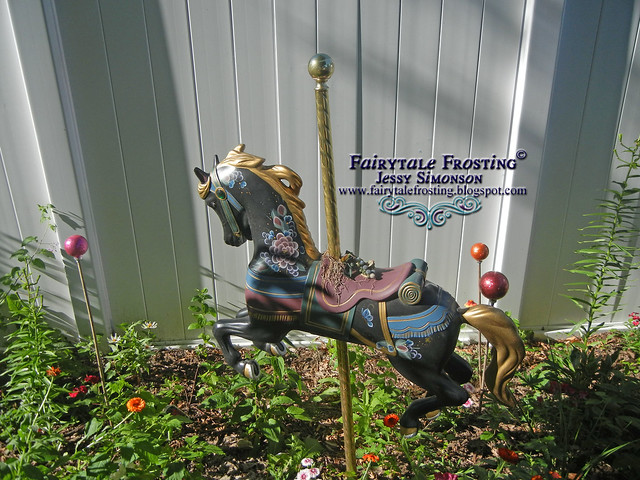
I am into quirky garden art so I made a few to go around my carousel horse too!
What kind of fun garden art did you make this season?

   photo BlogSignaturecopy_zps136f6d8e.jpg

Wednesday, October 2, 2013

Mushroom Garden Art

Mushrooms have been really popular this season. Or maybe its just me. I dont know, but I decided that I needed some in my yard. I got this crazy idea to use up some left over PVC pipe I had in the garage and some Dollar Store bowls I picked up. Check out how easy it is to make your own garden mushrooms!

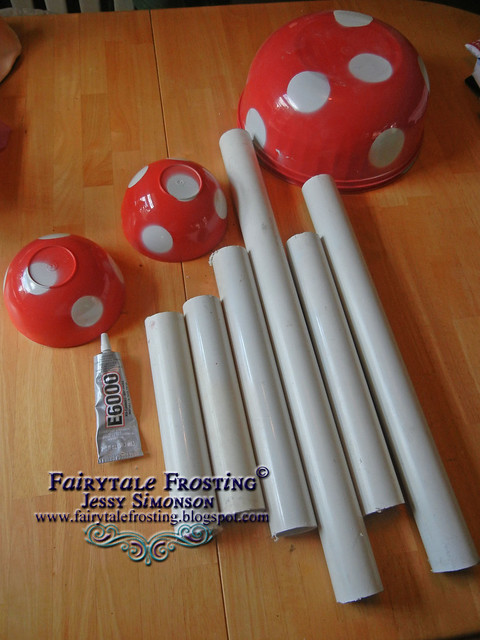
All you need are some plastic bowls, PVC pipe, spray paint, and heavy duty glue. I used E6000.
I picked up some red bowls at the Dollar Store and spray painted white circles on them. I simply used my Cricut to cut a circle and then used the negative paper as a stencil.

  BLOG Mushrooms 2  
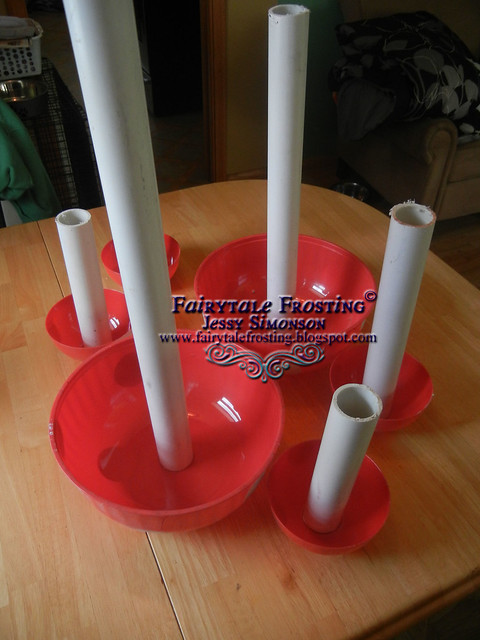
Once the bowls are painted and dry, turn them right side up, place a layer of glue onto an end of the PVC pipe and set it inside the bowl. Allow at least 24 hours to fully dry.
  BLOG Mushrooms 3  
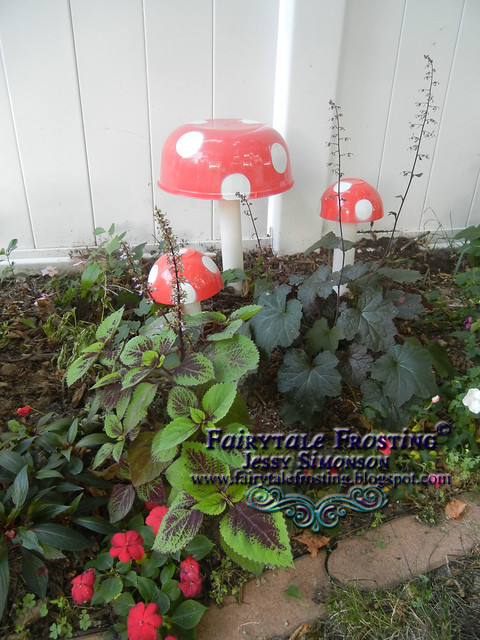
I just dug a hole a few inches deep and secured each mushroom into the ground. How fun is that?!
  BLOG Mushrooms 4 
I love how easy this was and the charm it adds to my gardens!
You could even get really crazy and make different colored mushrooms! Perhaps I'll add some blue or green ones next season!

 photo BlogSignaturecopy_zps136f6d8e.jpg

Tuesday, September 10, 2013

For The Love of Teal

Hello! I know, its been almost all summer and I've hardly updated this blog at all! I am so sorry that I've been M.I.A. for so long, but I've thought of you guys all summer! I've got lots of projects and fun things to share so I hope to have more regular posts coming your way for awhile.
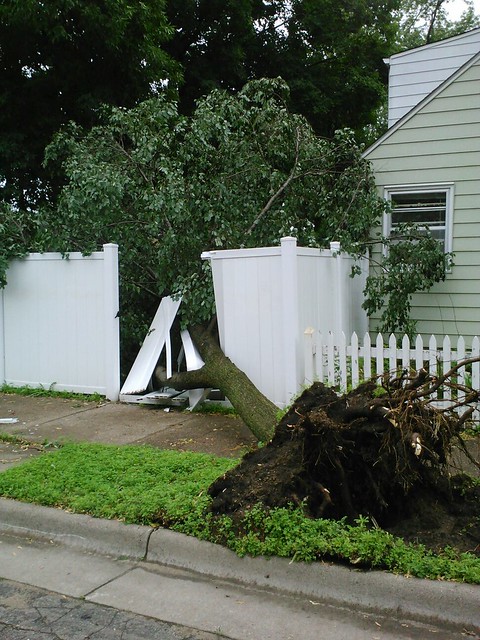
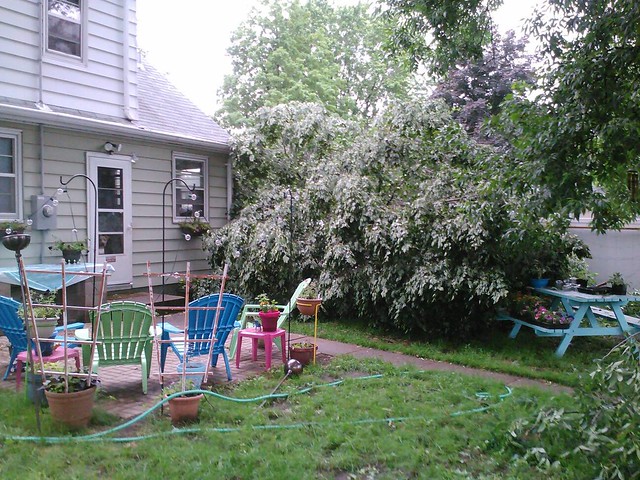
So let me start by taking you back to earlier this summer.  Minneapolis had a wicked storm roll through the city and it took down hundreds upon thousands of trees, almost excursively from the city boulevards.  On the night of this storm, I was enjoying the power outage down the road at a friend's house when my neighbor messaged me that a tree feel down into my yard.

It doesnt look too bad right? I mean, it missed the house! That is until you see how it looks inside the yard....
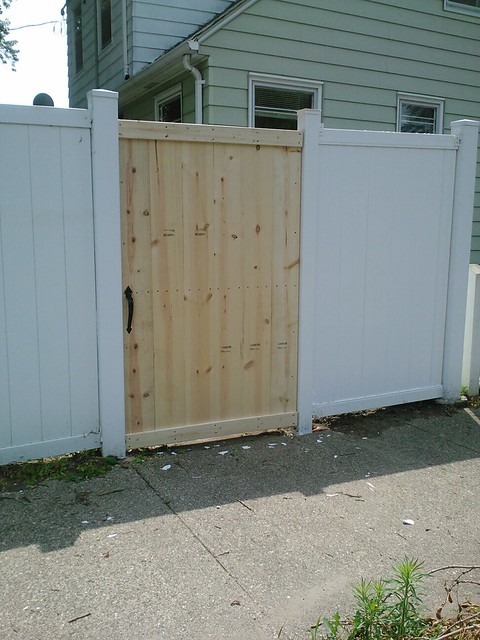
Nice huh? I cant really complain though. My fence is only a few years old, and I have a gate that I cannot stand. Its not very strong, and my dogs have broken through it before. Coincidentally, the tree fell through that particular gate! Thats was essentially the only damage! 
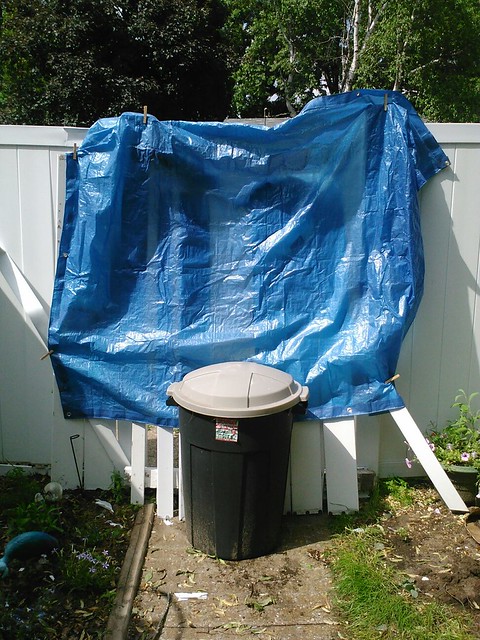
My parents were going to come visit and build a new gate for me. One that was sturdier and would keep my dogs from going crazy every time someone walked by. I had to wait about 2 weeks, so this was how I made it work until then.  
Classy huh?
But it was only temporary!
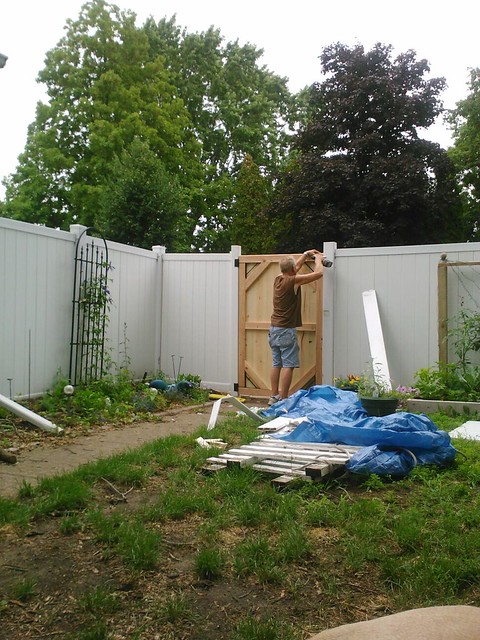
Gary got to work building the gate, I have a feeling he thinks this was the funnest project he's ever worked on!
1040423_10151436354637470_381671115_o 
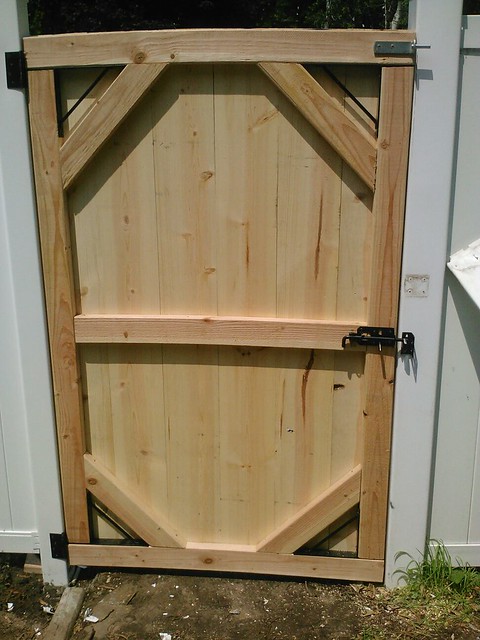
A day and a half later, I had this beautiful new gate!! Now, I could have chosen to paint it white, but anyone that knows me, knows, normal is not my thing.
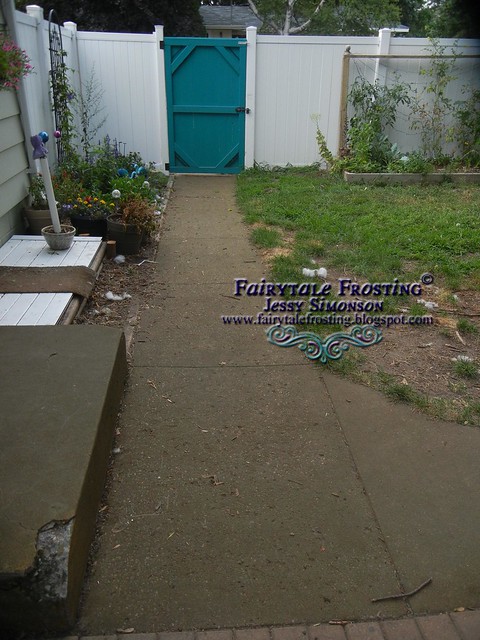
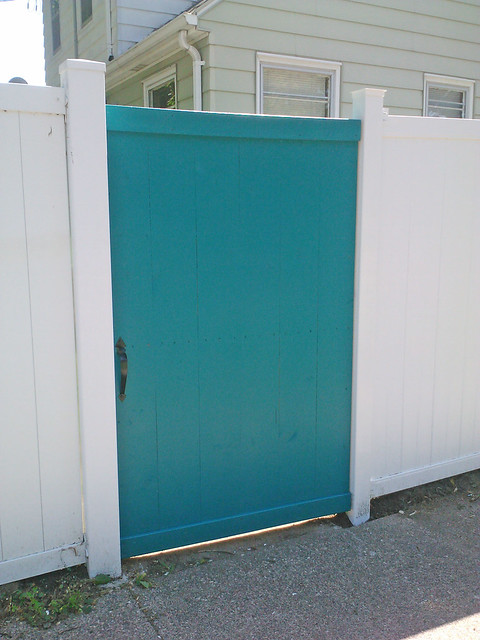
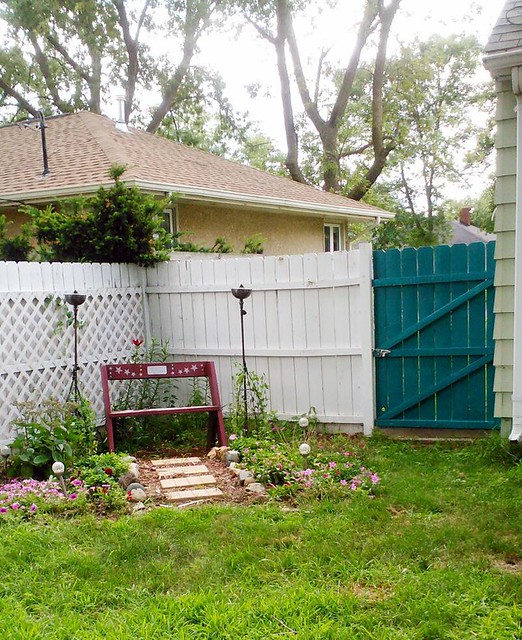
I chose to go with a bold shade of teal! I absolutely LOVE it!! I was so inspired I decided to paint the two other gates I have on this fence!
This gate is a slightly different shade. I had to use spray paint on this one because the gate is PVC. But I still love how it turned out. The difference is subtle, so I doubt anyone will notice.
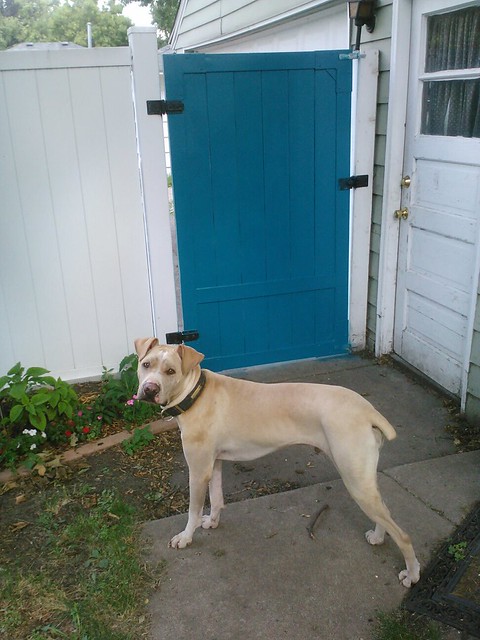
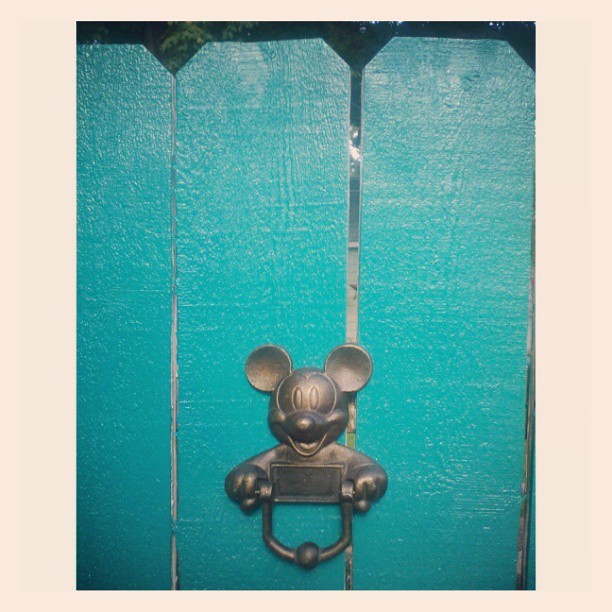
This gate is on the other side of my house, not the street side. I painted this the same color and decided to add a decorate touch! My brother had given me this Disney door knocker a few years ago, but I hadn't had a door to install it on.....
Pretty fun right?!
So this was the first of many projects I took on this summer. I know we are approaching fall and everyone will be sharing their pumpkin recipes, but I am going to hang onto summer just a bit longer and share more projects from my yard! Stay tuned!

 
 photo BlogSignaturecopy_zps136f6d8e.jpg

Monday, August 19, 2013

Diamond Candles Giveaway!
Scented candles are a bit of an addiction for me. At any time I have upwards of 15-20 candles in my living room. I love the smells and the ambiance.
If you've been following my blog for awhile, you also know that if its glittery or sparkly, I also love it. So its safe to say that pretty much any kind of bling is awesome.
I recently was offered the opportunity to test out and review a Diamond Candle. Basically, you get this deliciously scented candle, and buried inside is a sparkly ring! As you burn the candle, it will slowly reveal a foil package containing your bling. But the really fun part is that the rings can actually be valued at thousands of dollars!  Each candle has a different ring, so you get a long lasting, wonderful smelling candle and a shiny new ring?! Pretty much a girl's dream come true.
So I sampled the Lavender Lemon scent. Let me tell you what, YUM. I love the fresh clean scent of lemon but the relaxing aroma that comes with lavender too. Combine them and you have a fantastically soothing and fresh scent.
When my foil package was finally revealed I was ecstatic! I loved the ring! Its so my style too!
Check it out!


I love everything about these candles. The only "negative" I would give on this review is that the ring is a little bit big. I'd love to see where you could create a profile of your ring size(s) and be able to select a scent and ring size to ensure your bling properly fits.
Overall I give this product 2 thumbs up!!

WAIT! It gets even better!!! Diamond Candles is also generously letting me give away a candle to one of my lucky readers!
Make sure to follow Fairytale Frosting on Bloglovin and sign up below to win!
**Winner will be notified via email at the end of the drawing
***I did not receive any compensation for this post, other than the free product to review. My opinions are my own, based on my own experience with the product.
 photo BlogSignaturecopy_zps136f6d8e.jpg

This contest has ended. 
The winner is Shani G! Congrats!

a Rafflecopter giveaway


Monday, August 5, 2013

Pinterest Project: Dip Dyed Ombre Shoes

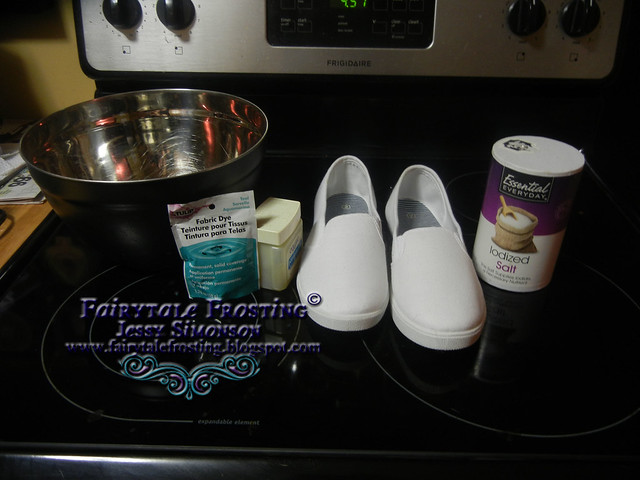
Earlier this season a couple of my girlfriends came over and both were wearing these super cute canvas shoes. They were different styles of course but I was having some serious shoe envy. I don't get shoe envy often and its almost never about casual shoes. I happened to be on Pinterest the next day and saw a variety of pins about DIY dip dyed canvas shoes. Low and behold Wal-mart was in stock of some simple white shoes for the wondrous price tag of $5.99! I couldn't help it, I had to try it out. So I picked up the shoes and some teal color dye.

Make sure to read the directions on the dye, and have any supplies for that. In this case I just needed water and salt.
  Pinterest Project: Dip Dyed Canvas Shoes  
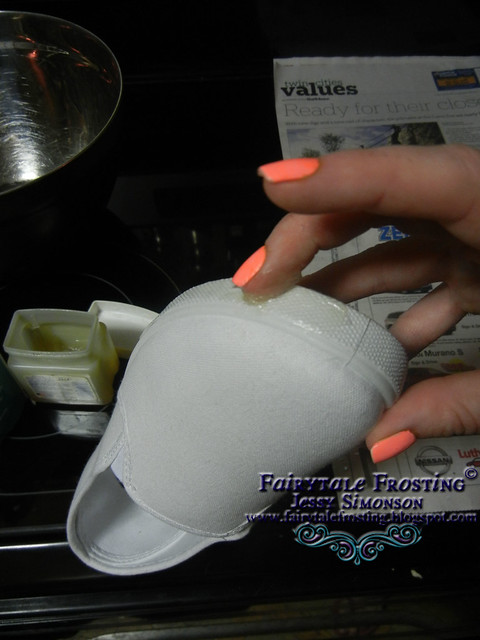
I read several tutorials for how to do this. One them suggested putting Vaseline on the soles of the shoe to keep that part from being dyed. I decided that was the best option because I wasnt sure the rubbery sole would really absorb the dye.
Pinterest Project: Dip Dyed Canvas Shoes    
From here, its actually quite simple, just dip them in!
Pinterest Project: Dip Dyed Canvas Shoes    
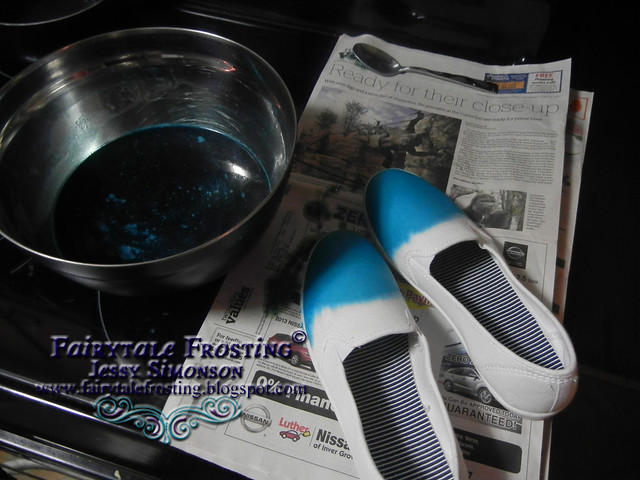
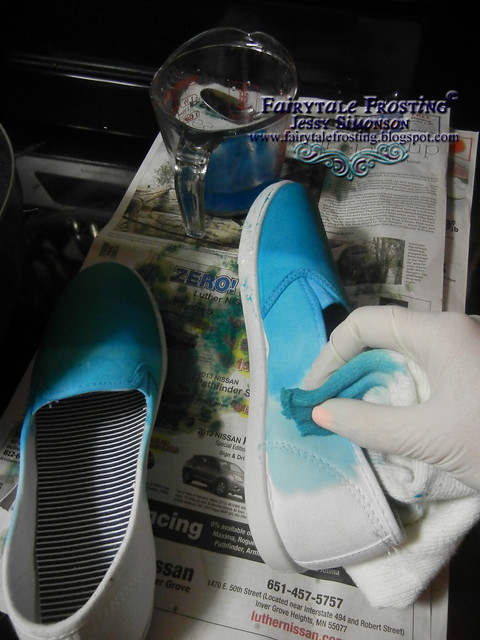
At this point I used a scrap of old fabric and dipped it in the dye, I continued to layer it onto the shoes to blend the dip line and create the gradual ombre effect. There really is no magic method, just keep dipping and spreading until you get an effect you like.
Pinterest Project: Dip Dyed Canvas Shoes   
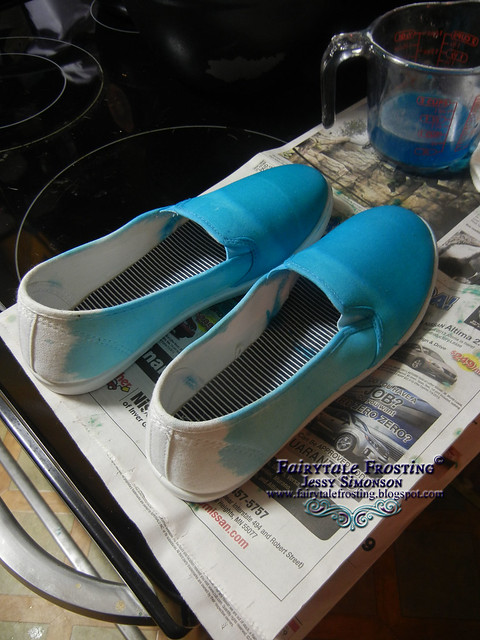
I left the shoes to dry overnight. You can expect that the color will tone down quite a bit as the fabric dries. 
Pinterest Project: Dip Dyed Canvas Shoes 
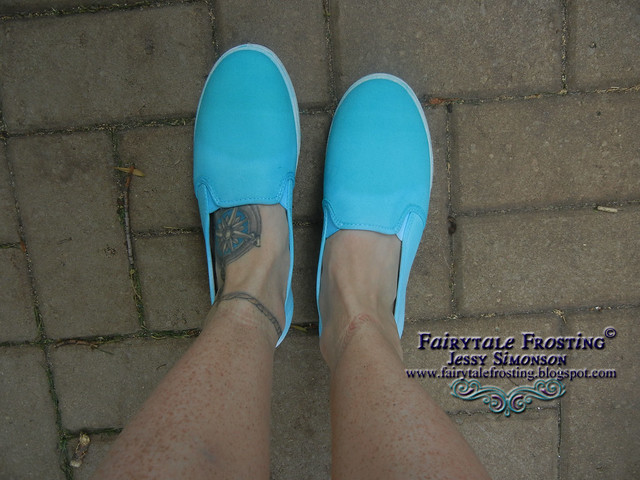
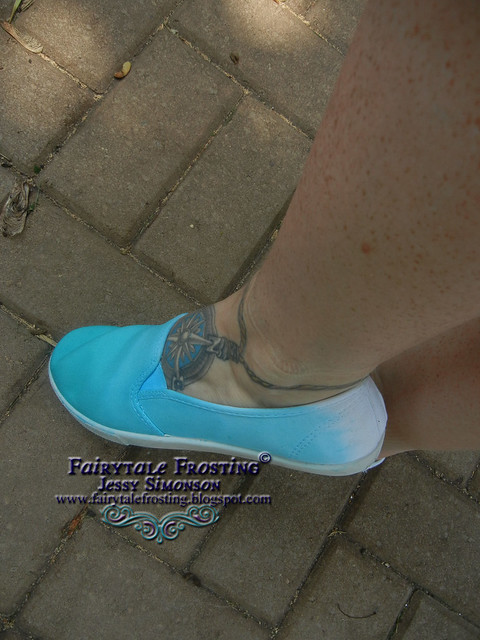
This is the end result!! I love them!!  
These shoes are super comfortable and I love the bright color and ombre effect! Super easy, inexpensive summer shoe! 
YAY! Pinterest Project WIN!

 photo BlogSignaturecopy_zps136f6d8e.jpg

LinkWithin

Related Posts with Thumbnails